Creating a logon for Web site session authentication with HTTP headers
When using HTTP headers to authenticate the Scan Engine, make sure that the session ID header is valid between the time you save this ID for the site and when you start the scan. For more information about the session ID header, consult your Web administrator.
Not every Web site supports the storage of cookies, so it is helpful to verify that header authentication is possible on your target Web site before you use this method. Verification involves exporting the cookie values from the target Web site. Various tools are available for this task. For example, if you use Firefox as your browser, you can install the Cookie Exporter, Cookie Importer, and Firebug addons. The following steps incorporate Firefox as the browser for illustration:
- After installing Cookie Exporter, Cookie Importer, and Firebug, restart Firefox and enable cookies.
- Log onto the target Web site.
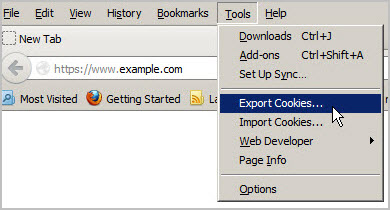
- From the Firefox Tools menu, select Export Cookies… and save the exported cookies to a .txt file.
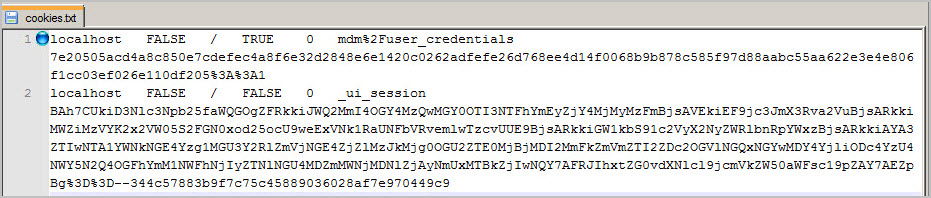
- Open the .txt file and delete all but the session cookies, since you’ll need those for authentication. One header defines the credentials, and the other defines the session. Save the updated file.
- Restart the browser and clear your browser history.
- From the Firefox Tools menu, select Import Cookies… Firefox displays a message indicating that two cookies were imported.
- Navigate to the target Web site. If header authentication is possible, you will bypass the logon page, and you will immediately be authenticated.
After verifying that header authentication is possible, start the HTTP headers configuration:
If you want to configure HTTP headers while configuring a new site, click the Create site button on the Home page. OR Click the Create tab at the top of the page and then select Site from the drop-down list.
If you want to configure HTTP headers for an existing site, click that site’s Edit icon in the Sites table on the Home page.
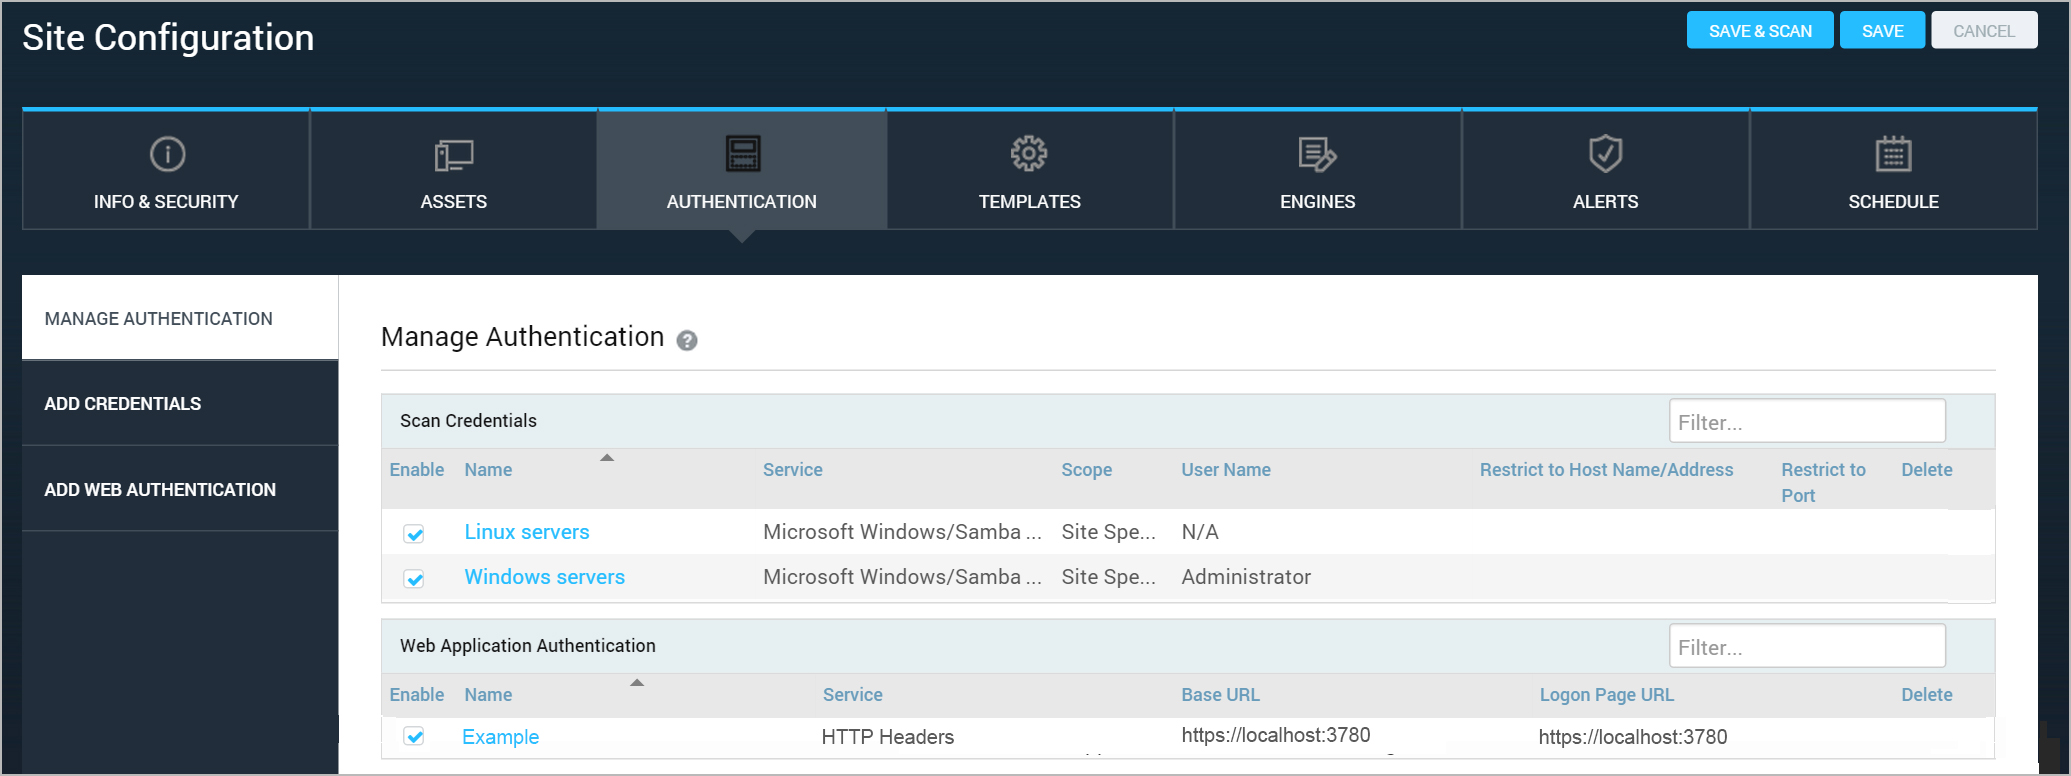
- Click the Authentication tab in the site configuration .
- Click Add Web Authentication.
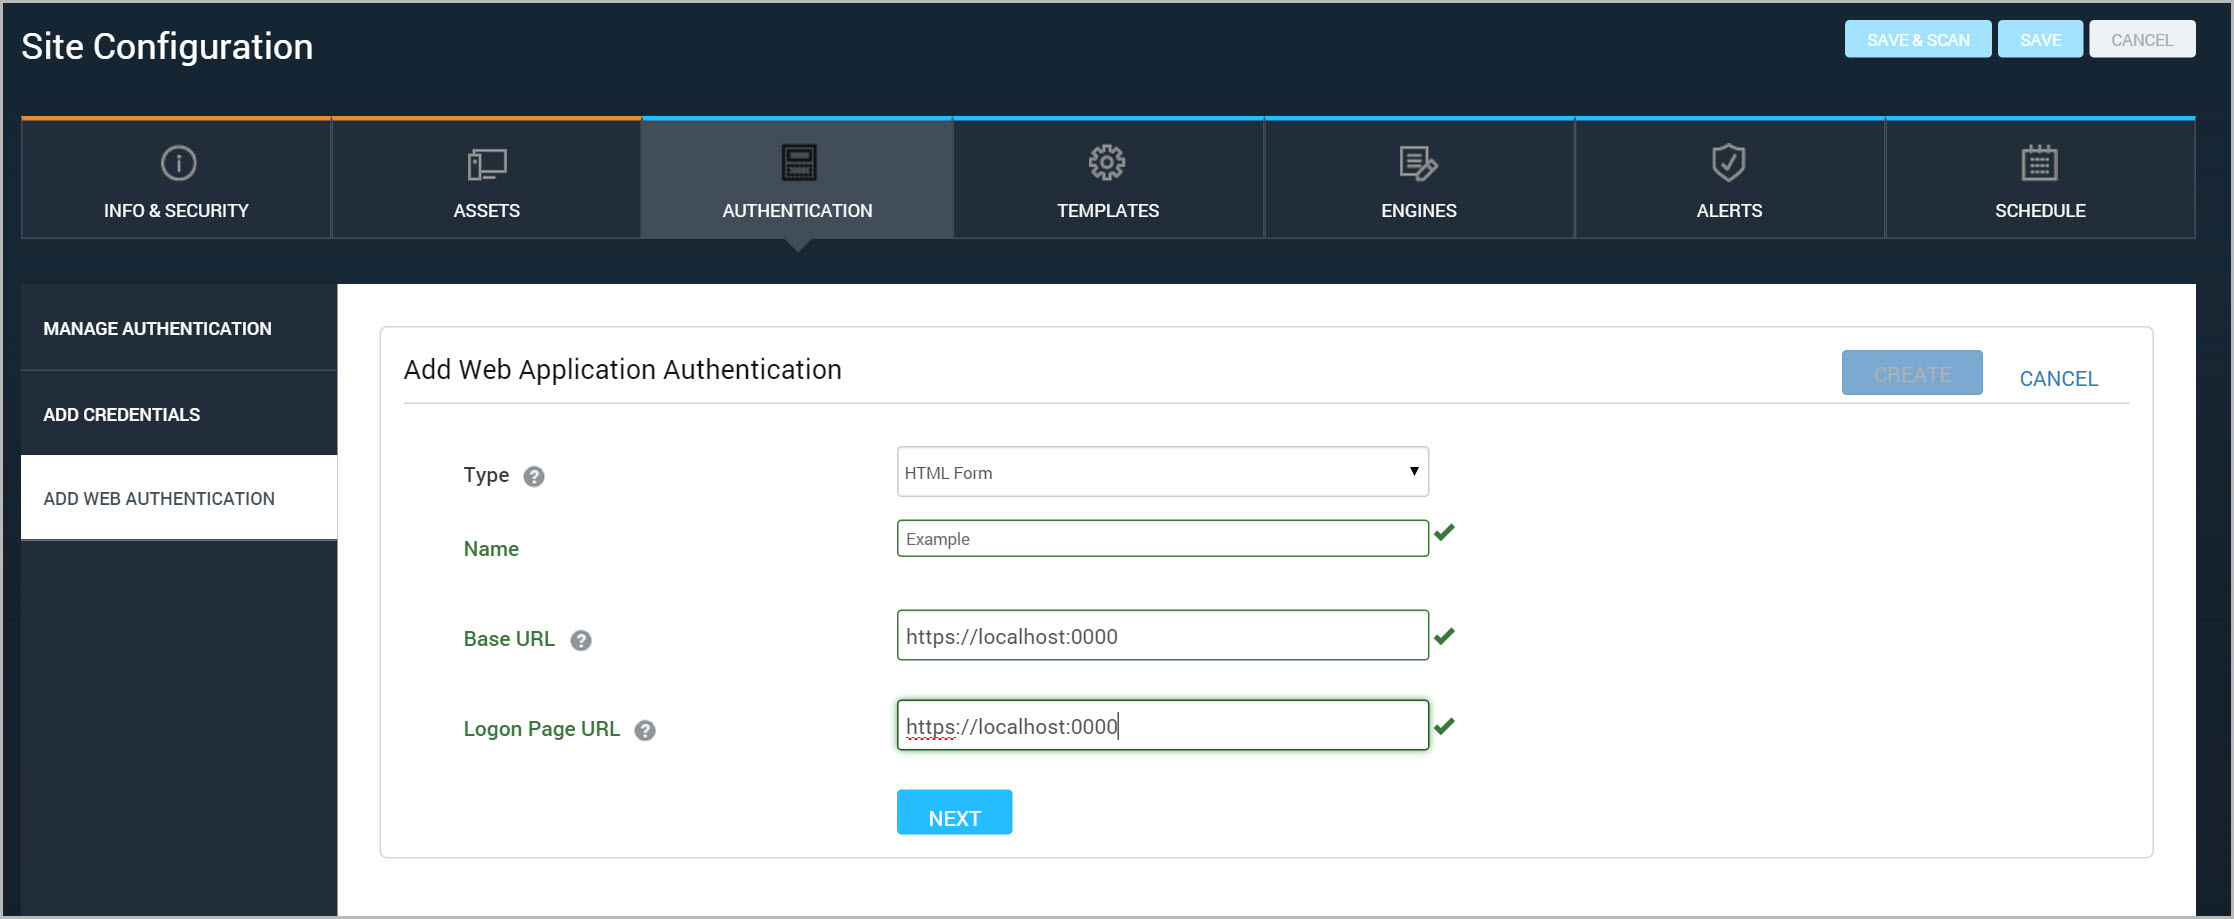
- In the Add Web Application Authentication form, select HTTP Headers from the Type drop-down list.
- Enter a name for the new header settings.
- In the Base URL text box, enter the main address from which all paths in the target Web site begin.
Continue with adding a header:
Tip: If you do not know any of the required information for configuring a Web form logon, consult the developer of the target Web site.
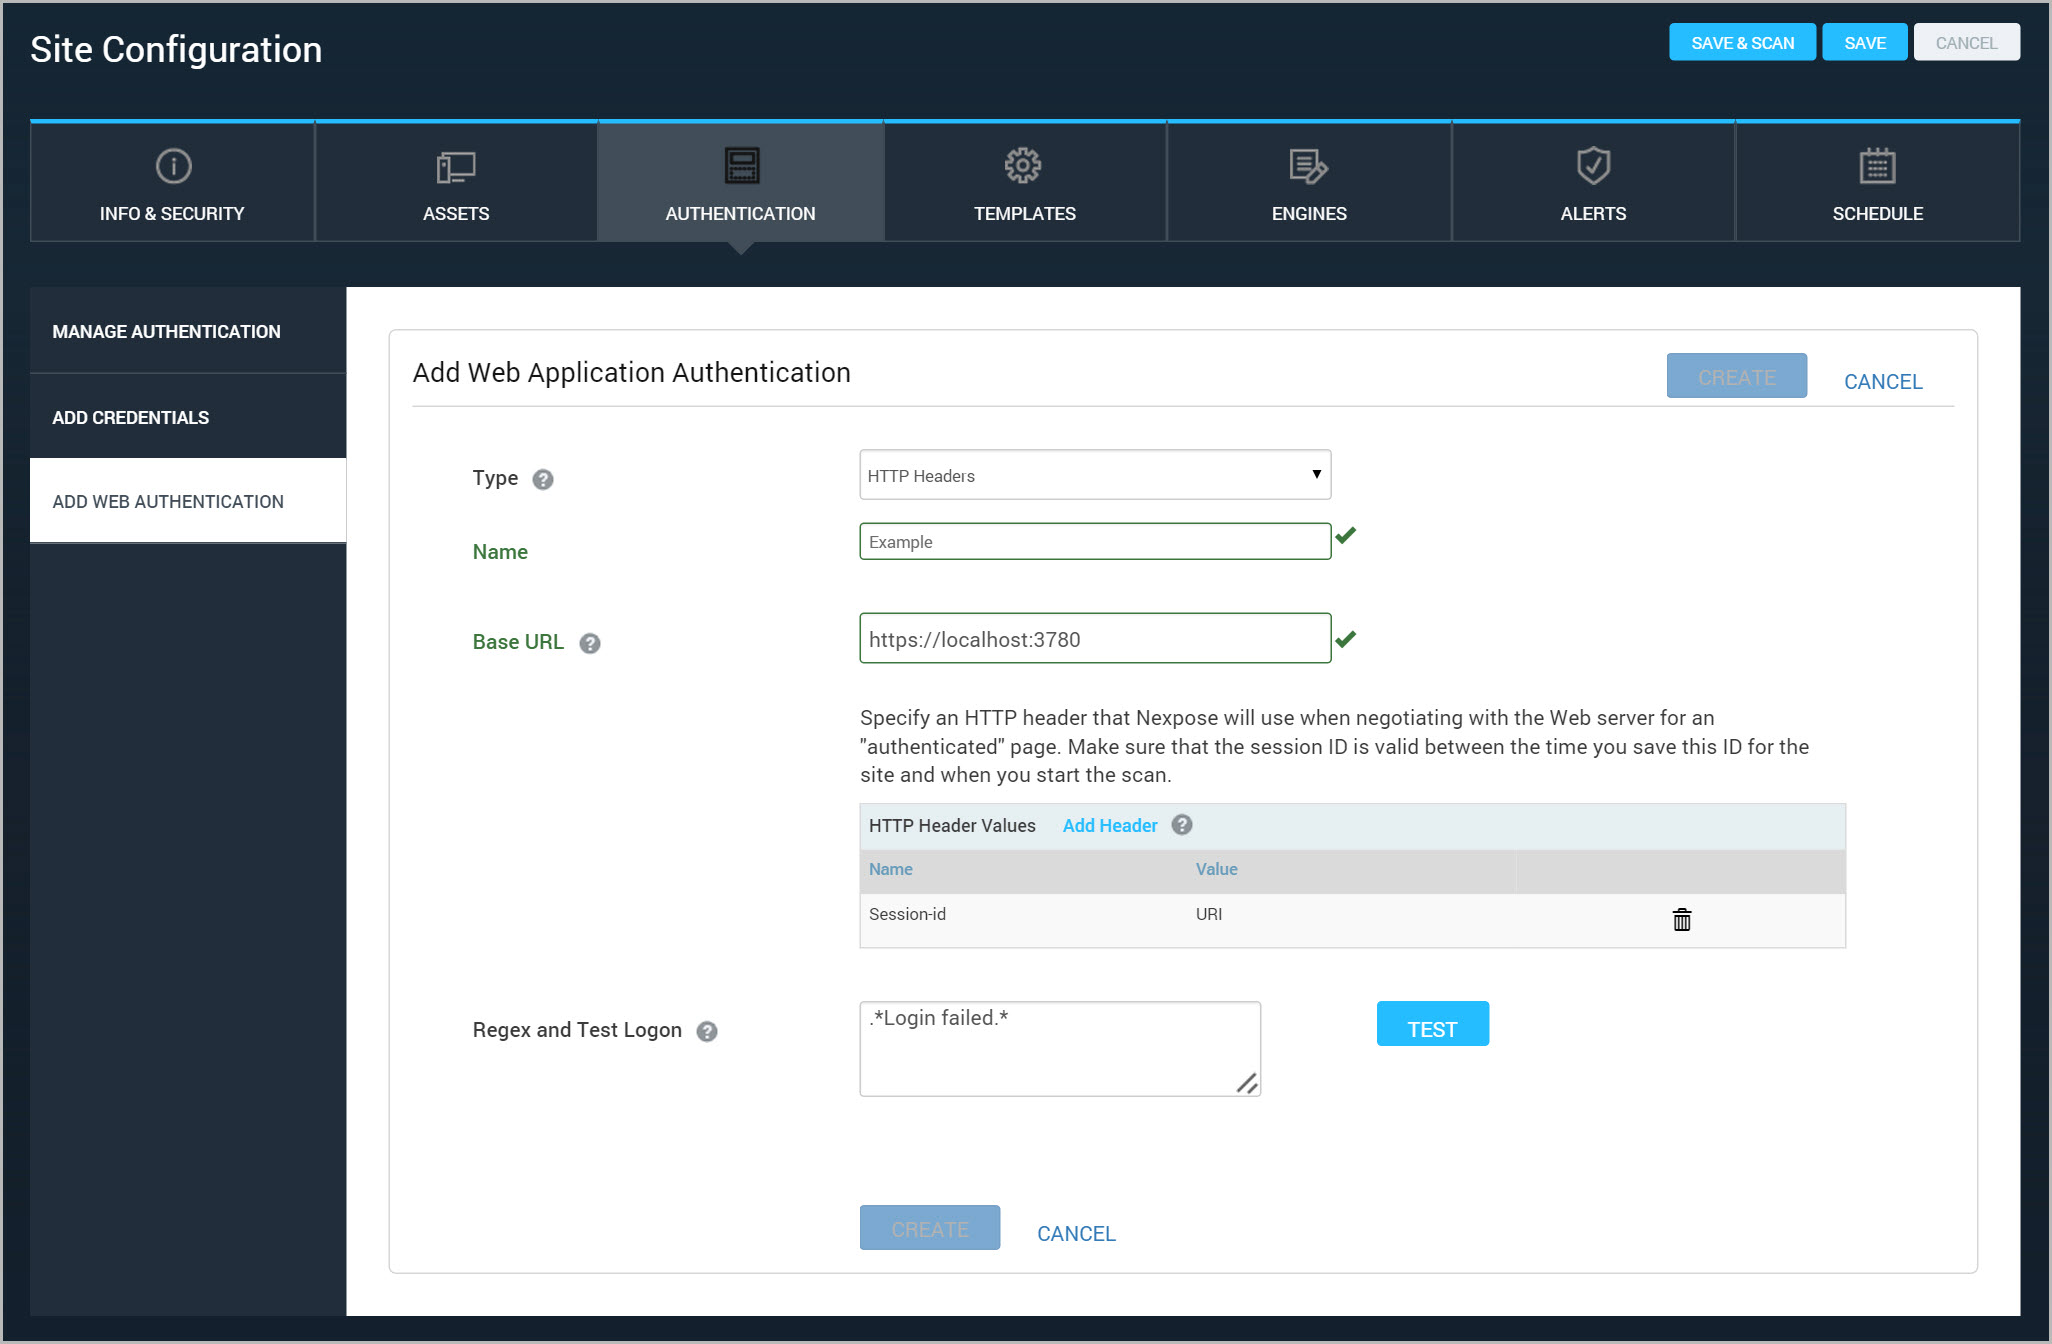
- In the HTTP Header Values table, click the Add Header hyperlink.
- In the pop-up dialog box, enter a name/value pair for the header and click the Add Header button.
- Name corresponds to a specific data type, such as the Web host name, Web server type, session identifier, or supported languages. The name can only include letters and numerals. It cannot include spaces or special characters.
- Value corresponds to the actual value string that the console sends to the server for that data type. For example, the value for a session ID (SID) might be a uniform resource identifier (URI).
For example, a name/value pair may specify a name/value pair for a session ID. The name might be Session-id, and the value might be URI.
If you are not sure what header to use, consult your Web administrator.
After you enter the name/value pair, it appears in the HTTP Header Values table.
Continue with creating a regular expression for logon failure and testing the logon:
- Change the regular expression (regex) if you want to use one that is different from the default value. The default value works in most logon cases. If you are unsure of what regular expression to use, consult the Web administrator. For more information, see Using regular expressions.
- Click Test logon to make sure that the Scan Engine can successfully log on to the Web application. If the Security Console displays a success notification, click Save. If logon failure occurs, change any settings as necessary and try again.