Policy rule overrides
You can override the result of a policy rule if you deem it necessary. Requirements are as follows:
- You can only configure overrides per individual rule. Policy rule groups cannot be overridden.
- You must provide a reason for the override to exist.
- You must have the proper permissions.
Related report templates
The following report templates include information on the most recent override per policy rule check:
- XCCDF Human Readable CSV Export
- XCCDF Results XML Export
See Working with report formats for more information.
Permissions
Users must be granted special permissions to submit, review, and delete policy rule override requests. View and configure these permissions from any user’s “User Configuration” screen:
- On your Security Console menu, click the Administration tab, and click Users > User Management.
- Click the icon under Edit for your desired user, or click the User Roles tab.
- Enter the Role Name and Role Description.
- Click Next.
- Click the Create User Role tab.
- Click the All Console Permissions checkbox.
- Browse to the Vulnerability Exception and Policy Override Permissions section.
Permissions will be enabled or disabled depending on the selected user role. Define a custom role to manually add or remove permissions as you see fit.
Create an override
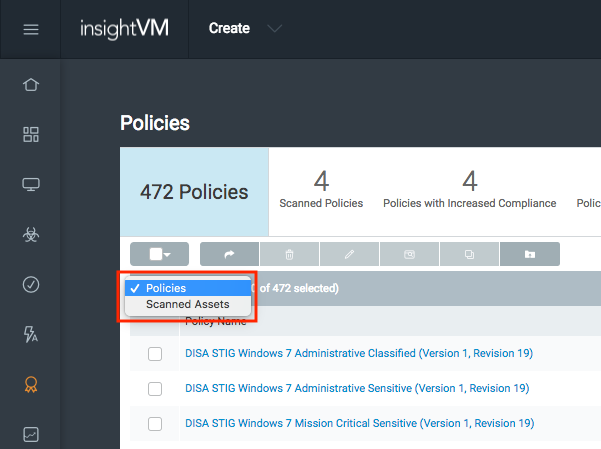
Create policy rule overrides starting from both the Policies and Scanned Assets views:
Override scope
The starting point of a policy rule override configuration will determine if the scope of the override is adjustable. Depending on where you start overrides, you will have different options:
- The Policies view restricts override scope to All assets.
- The Scanned Assets view provides the following scope options:
- All assets
- This asset only
- This asset until the next scan
TIP
Consider whether you will need override scope options before starting the configuration.
Select a policy rule
- After opening a desired policy or scanned asset to its detail page, expand individual policy groups until a rule is selected. The Create Policy Override button will activate.
- Click the Create Policy Override button.
- If necessary, select the scope for the override.
- Specify how the override will change the result of the rule check.
- Provide a detailed reason for the override to exist.
- Submit the form when finished. If you already have the necessary permissions, you can click the Submit and Approve button to enable the override without going through the review process.
TIP
All overrides and their reasons are incorporated, along with the policy check results, into the documentation that the U.S. government reviews in the certification process.
This applies specifically to XCCDF reports generated and provided for relevant certification processes. For more information on XCCDF reports, see the Working with XML formats section on the Working with report formats page.
Managing override requests
You can review pending override requests from the “Configuration Policy Overrides” window.
- On the Administration page, click Policies > Overrides.
- Browse to the Configuration Policy Overrides window.
- Select any pending policy override(s) for review or deletion.
- The Review Policy Overrides window contains options for approving and rejecting submitted overrides. If desired, you can also specify an expiration date.
Viewing override history
You can view policy override history by examining completed scans of assets.
- In the Sites window of your Security Console Home tab, open the site responsible for scanning the asset(s) you want to review.
- In the Site Scan Summary window, click the View Scan History button.
- In the Past Scans window, open your desired scan.
- In the Completed Assets window, browse to and open the asset you want to check.
- In the Policies window, open a policy.
- Open any desired policy rule. The policy rule details page will show a history of overrides if any exist.