ServiceNow
The integration with ServiceNow currently requires the URL of a ServiceNow server that accepts inbound communication from the Rapid7 Command Platform (Insight Platform) and an account with the admin role.
Test the credentials of your ServiceNow account to ensure they authenticate properly before moving forward.
Firewall rules
If your ServiceNow instance is configured with firewall rules, see Configure communications with the Command Platform (Insight Platform) for current static IP addresses for the Command Platform (Insight Platform).
Configuring Access Control rules
You may need to modify role privileges within ServiceNow for your ticketing connection to function properly. Ensure the ServiceNow account used for this integration has all of the following roles assigned:
itilitil_adminmid_serverpersonalize_choicesreport_admin
For more information about ServiceNow access controls, see the third party documentation .
Creating a new ServiceNow ticketing connection for your Remediation Projects
ServiceNow integration does not require the ServiceNow Vulnerability Response module.
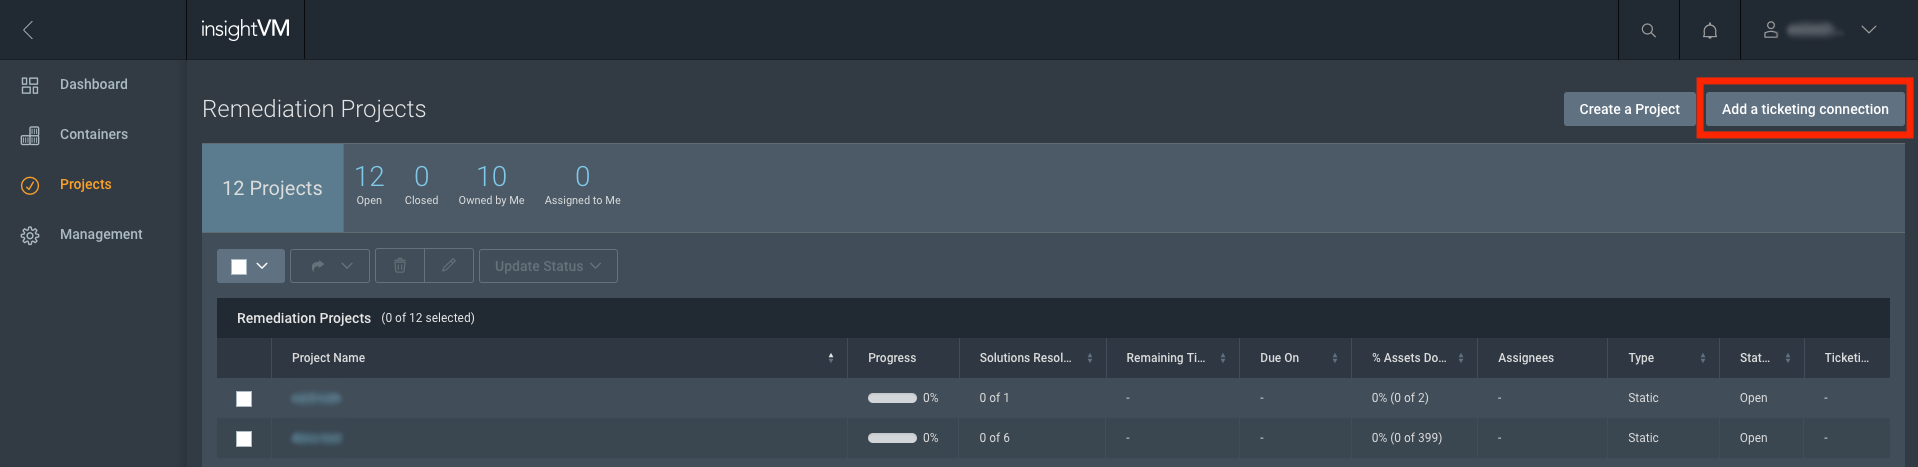
- Click the Projects tab.
- On the Remediation Projects page, click Add a ticketing connection.
- On the Settings > Connections view, click the ServiceNow ticketing option in the ticketing area.
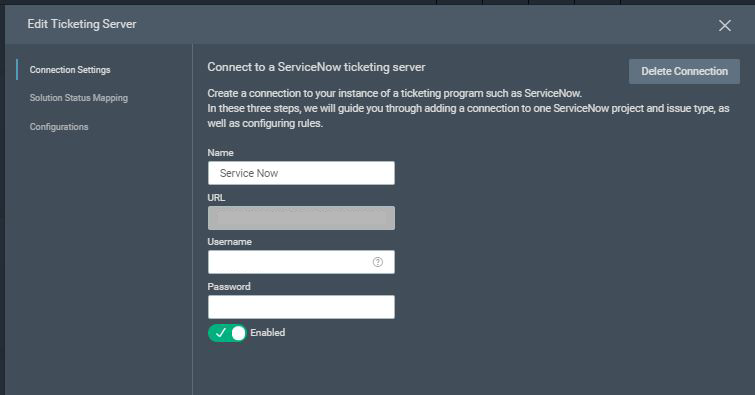
- On the Connection Settings page, enter the URL of your ServiceNow server and the credentials to an account with the required permissions.
Authentication requirement
This integration only supports basic authentication to your ServiceNow instance. Single sign-on (SSO) authentication is not supported.
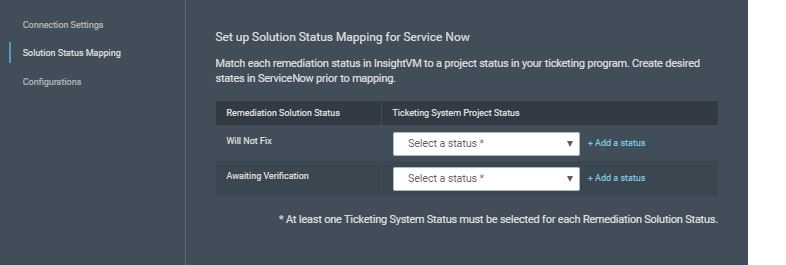
- Click Solution Status Mapping to map one or more ServiceNow issues statuses to one of the following Remediation Project statuses. ServiceNow status updates will trigger the remediation solution status to update to one of the following, depending on mapping:
- Awaiting Verification - The remediator has taken action to mitigate the vulnerability and is now awaiting verification, the vulnerability no longer exists, or the remediation failed.
- Will Not Fix - The item cannot be remediated.
NOTE
Changing the status of a ServiceNow ticket can change the status of a remediation solution, but changing the solution status will not change a ServiceNow ticket’s status.
If a remediation solution has multiple tickets with different solution statuses, tickets with “Awaiting verification” status will be prioritized first.
For example, imagine that a remediation solution has 2 tickets, A and B. The status mapped to Awaiting Verification field is “Done,” while the status mapped to the Will Not Fix field is “In Progress.” If the status of Ticket A is set to “Done,” and the status of Ticket B is set to “Canceled,” then the remediation solution status is set to “Awaiting verification,” because an employee needs to verify the status of Ticket A.
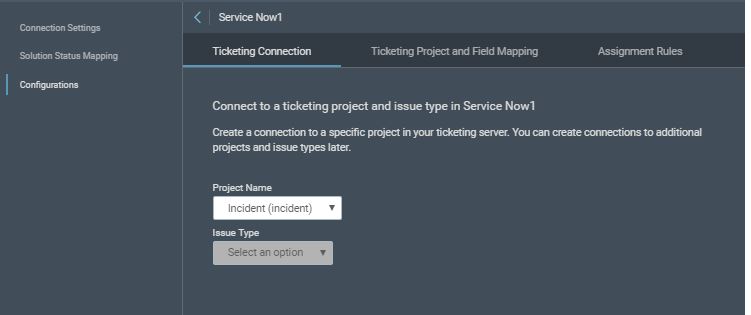
- Click Configurations, and then click New Configuration. The ticketing template wizard opens to the Ticketing Connection page. The ticketing template wizard has three pages:
Complete the Ticketing Connection page to select the ServiceNow incident for automated ticketing and the type of work item that you want to create, e.g Task. The available Issue Types are based on the Project Name that you select. Click Next to continue to the Ticketing Project and Field Mapping page.
Complete the Ticketing Project and Field Mapping page to draft a template of the ticket that you generate from your Remediation Project. You can configure how concise or detailed you want the summary and description to be with variables for information, such as a solution name ($SOL_NAME), asset list ($ASSET_NAME_LIST), and other data related to your vulnerability scans. Click the Syntax Help button to open a dictionary that lists all of the supported placeholders. Click Next to continue to the Assignment Rules page.
Complete the Assignment Rules page to create rules for assigning automatically generated tickets to your team based on factors like the ownership of assets and the expertise of the assignees. The list of rules ordered by preference. Every ticket is assigned based on the first rule whose asset filter conditions are satisfied. If no rule is matched, the incident is assigned to the Default Assignee. Click on the +New Rule button to create additional rules.
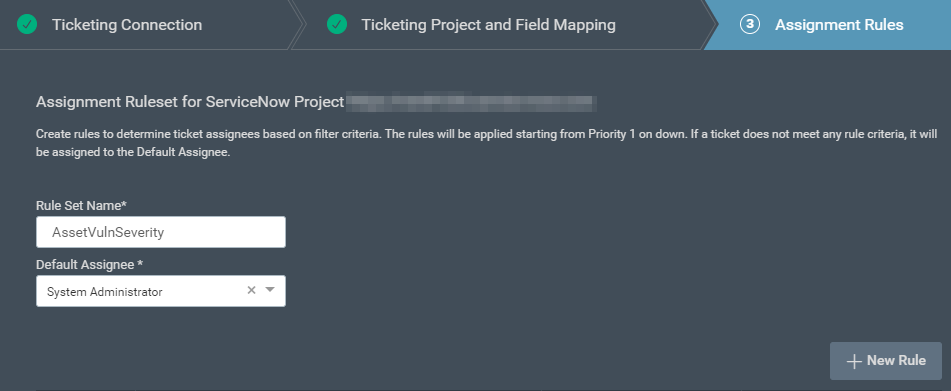
- When you are done creating all of the necessary rules, click Save and exit from the ticketing wizard.
Editing a ticketing connection for Remediation Projects
To edit a ticketing connection:
- Click the Management tab.
- Click Edit for the ticketing connection that you want to edit.
- Edit the Connection Settings, Solution Status, and Configuration pages as necessary.