Configure PingOne SSO
You can configure PingOne (“Ping”) SSO login to the Digital Risk Protection (Threat Command).
To configure Ping SSO, you must do the following:
- Download the Ping SSO certificate
- Configure the Digital Risk Protection (Threat Command) to accept the Ping sign-in
- Configure Ping SSO to work with Digital Risk Protection (Threat Command)
Download the Ping SSO certificate
Download the Ping certificate that is needed for the Digital Risk Protection (Threat Command).
Before you begin, ensure that you can access the Ping account as an administrator.
To download the Ping SSO certificate:
- Log in to PingOne as an administrator.
- Download the Ping certificate:
- From the Applications**** menu, select My Applications.
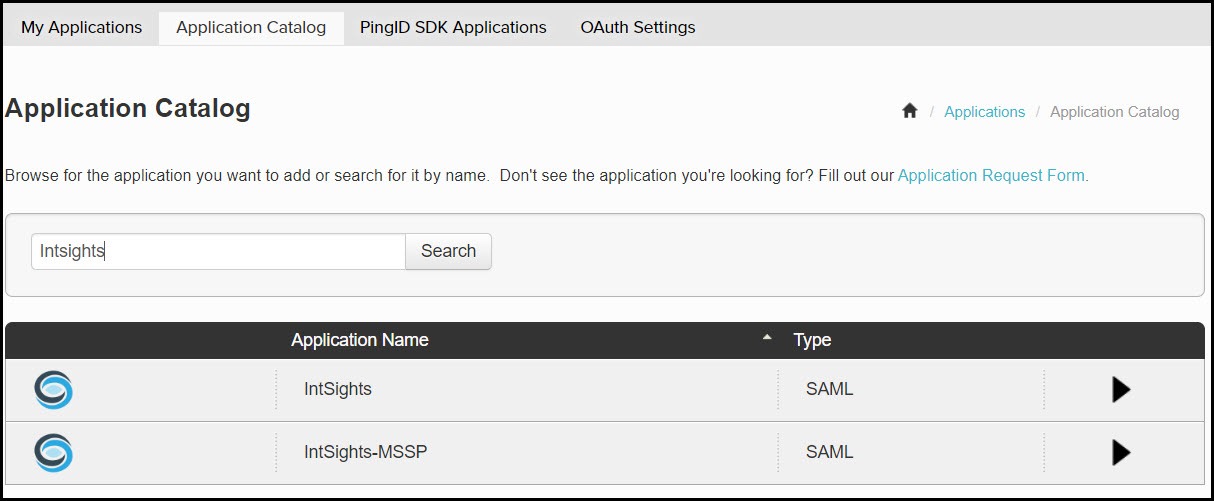
- Click Add Application, then search the application catalog for Rapid7.
- On the Rapid7 application line, click the right arrow.
- Click Setup.
- From the SSO Instructions section, click Download.
The pingone-signing.crt file is downloaded to the default location.
You can rename this file.
Configure the Digital Risk Protection (Threat Command) to accept the Ping sign-in
In the Digital Risk Protection (Threat Command), configure the Ping single sign-on (known as SAML single sign-on).
Before you begin, ensure that:
- You can access the Digital Risk Protection (Threat Command) as an administrator.
- You can access the location to where the Ping certificate was downloaded.
To configure Ping:
- Log in to Digital Risk Protection (Threat Command) as an administrator.
- From the Digital Risk Protection (Threat Command) main menu, select Settings > Authentication.
- For Provider name, select ping :
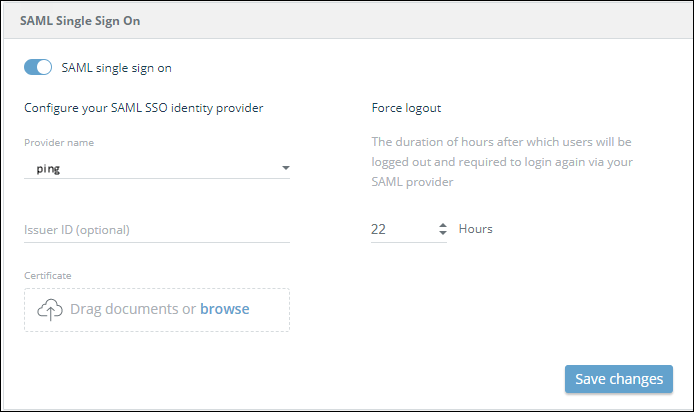
- Upload the ping certificate that was downloaded in the [previous section](#download-the-ping-sso-certificate.
- In the Force logout section, set the maximum hours for a user session to remain valid. After this time period, the user must sign in through their SSO to regain access to the Digital Risk Protection (Threat Command).
- Click Save changes.
Configure Ping SSO to work with Digital Risk Protection (Threat Command)
Configure PingOne so the SSO is accepted for the Digital Risk Protection (Threat Command).
Before you begin, ensure that you can access the Ping account as an administrator.
To configure Ping SSO:
- If you are not already logged in, log in as an administrator.
- From the SSO Instructions page, click Continue to Next Step.
If you were logged out, you can get to the SSO Instructions section as described here. - On the Connection Configuration page, click Continue to Next Step.
- On the Attribute Mapping page, in the Identity Bridge Attribute or Literal Value field, select Email :
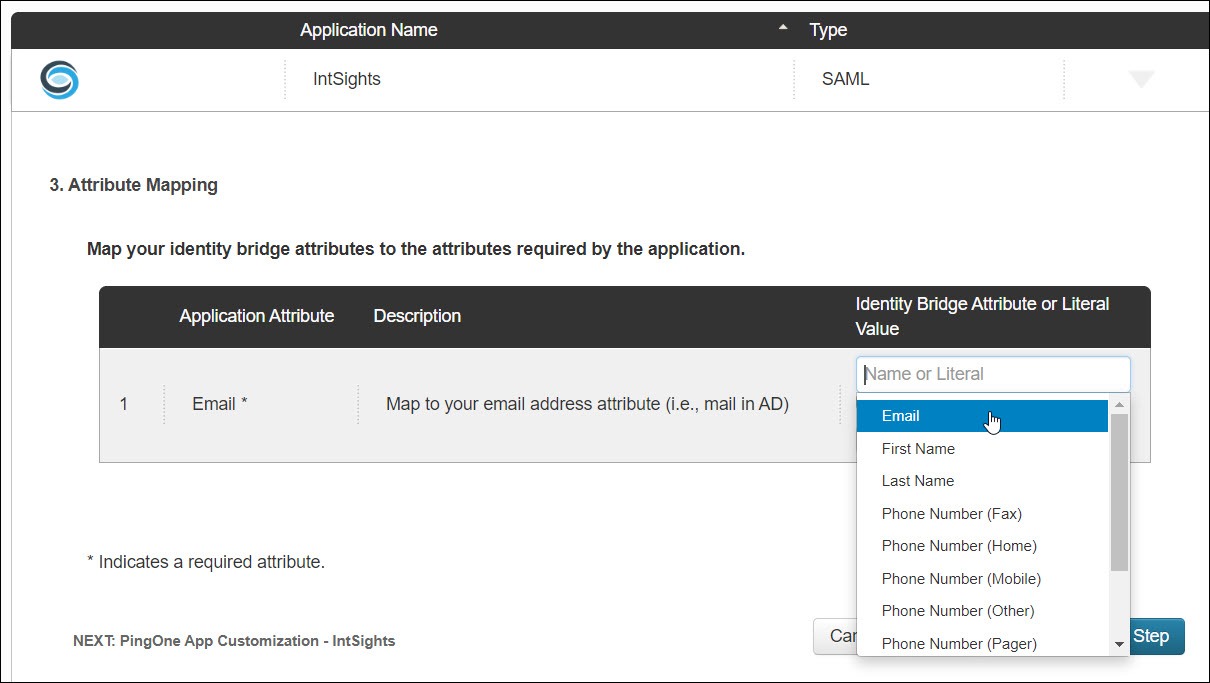
- Click Continue to Next Step.
- On the PingOne App Customization - Rapid7 page, you can customize, then click Continue to Next Step.
- On the Group Access page, you can select a group, then click Continue to Next Step.
- On the Review Setup screen, review the details, then click Finish.
- Initiate the first sign-in:
- Select the My Applications page, then click the Rapid7 application.
- On the My Applications > SAML page, copy the Initiate Single Sign-On (SSO) URL :
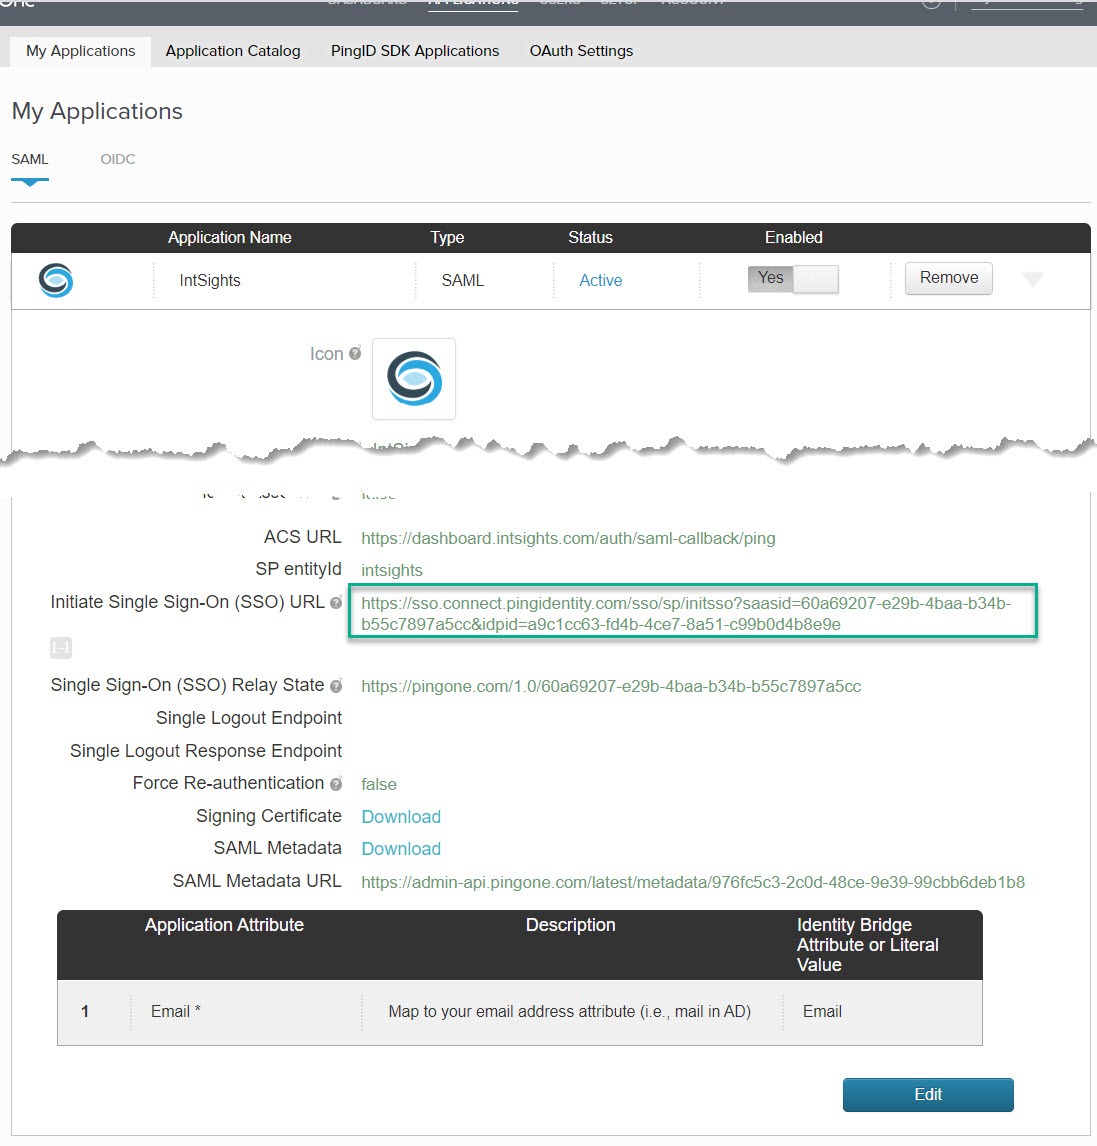
- Copy the URL to a blank browser window, then press Enter.
A sign-in to the Digital Risk Protection (Threat Command) is attempted.
If the sign-in succeeds, the SSO was set-up successfully.