Objective: Gain Visibility
Application Security (InsightAppSec) enables you to minutely control the scope and thoroughness of your scan based on your requirements. These controls are available under the Scan Configs section of your app. Having mostly used default settings in the past scans, this is a good time to explore the customizations available as part of the Scan Config wizard.
Scan Configuration
A scan configuration is a group of settings you can use to scan an app, or certain targets within an app, for vulnerabilities. You can create multiple scan configs in order to suit your needs for any circumstance. For example, you can have a scan config that crawls a specific URL that uses authentication. You can create a scan config for the same URL, but ensure that it also crawls sitemaps and robots.txt, which may not require authentication.

Create a Scan Config
- On the Apps page, click on the name of your app.
- Select the Scan Configs tab.
- Click the Create New Scan Config button.
- Provide a name and description for the scan configuration.
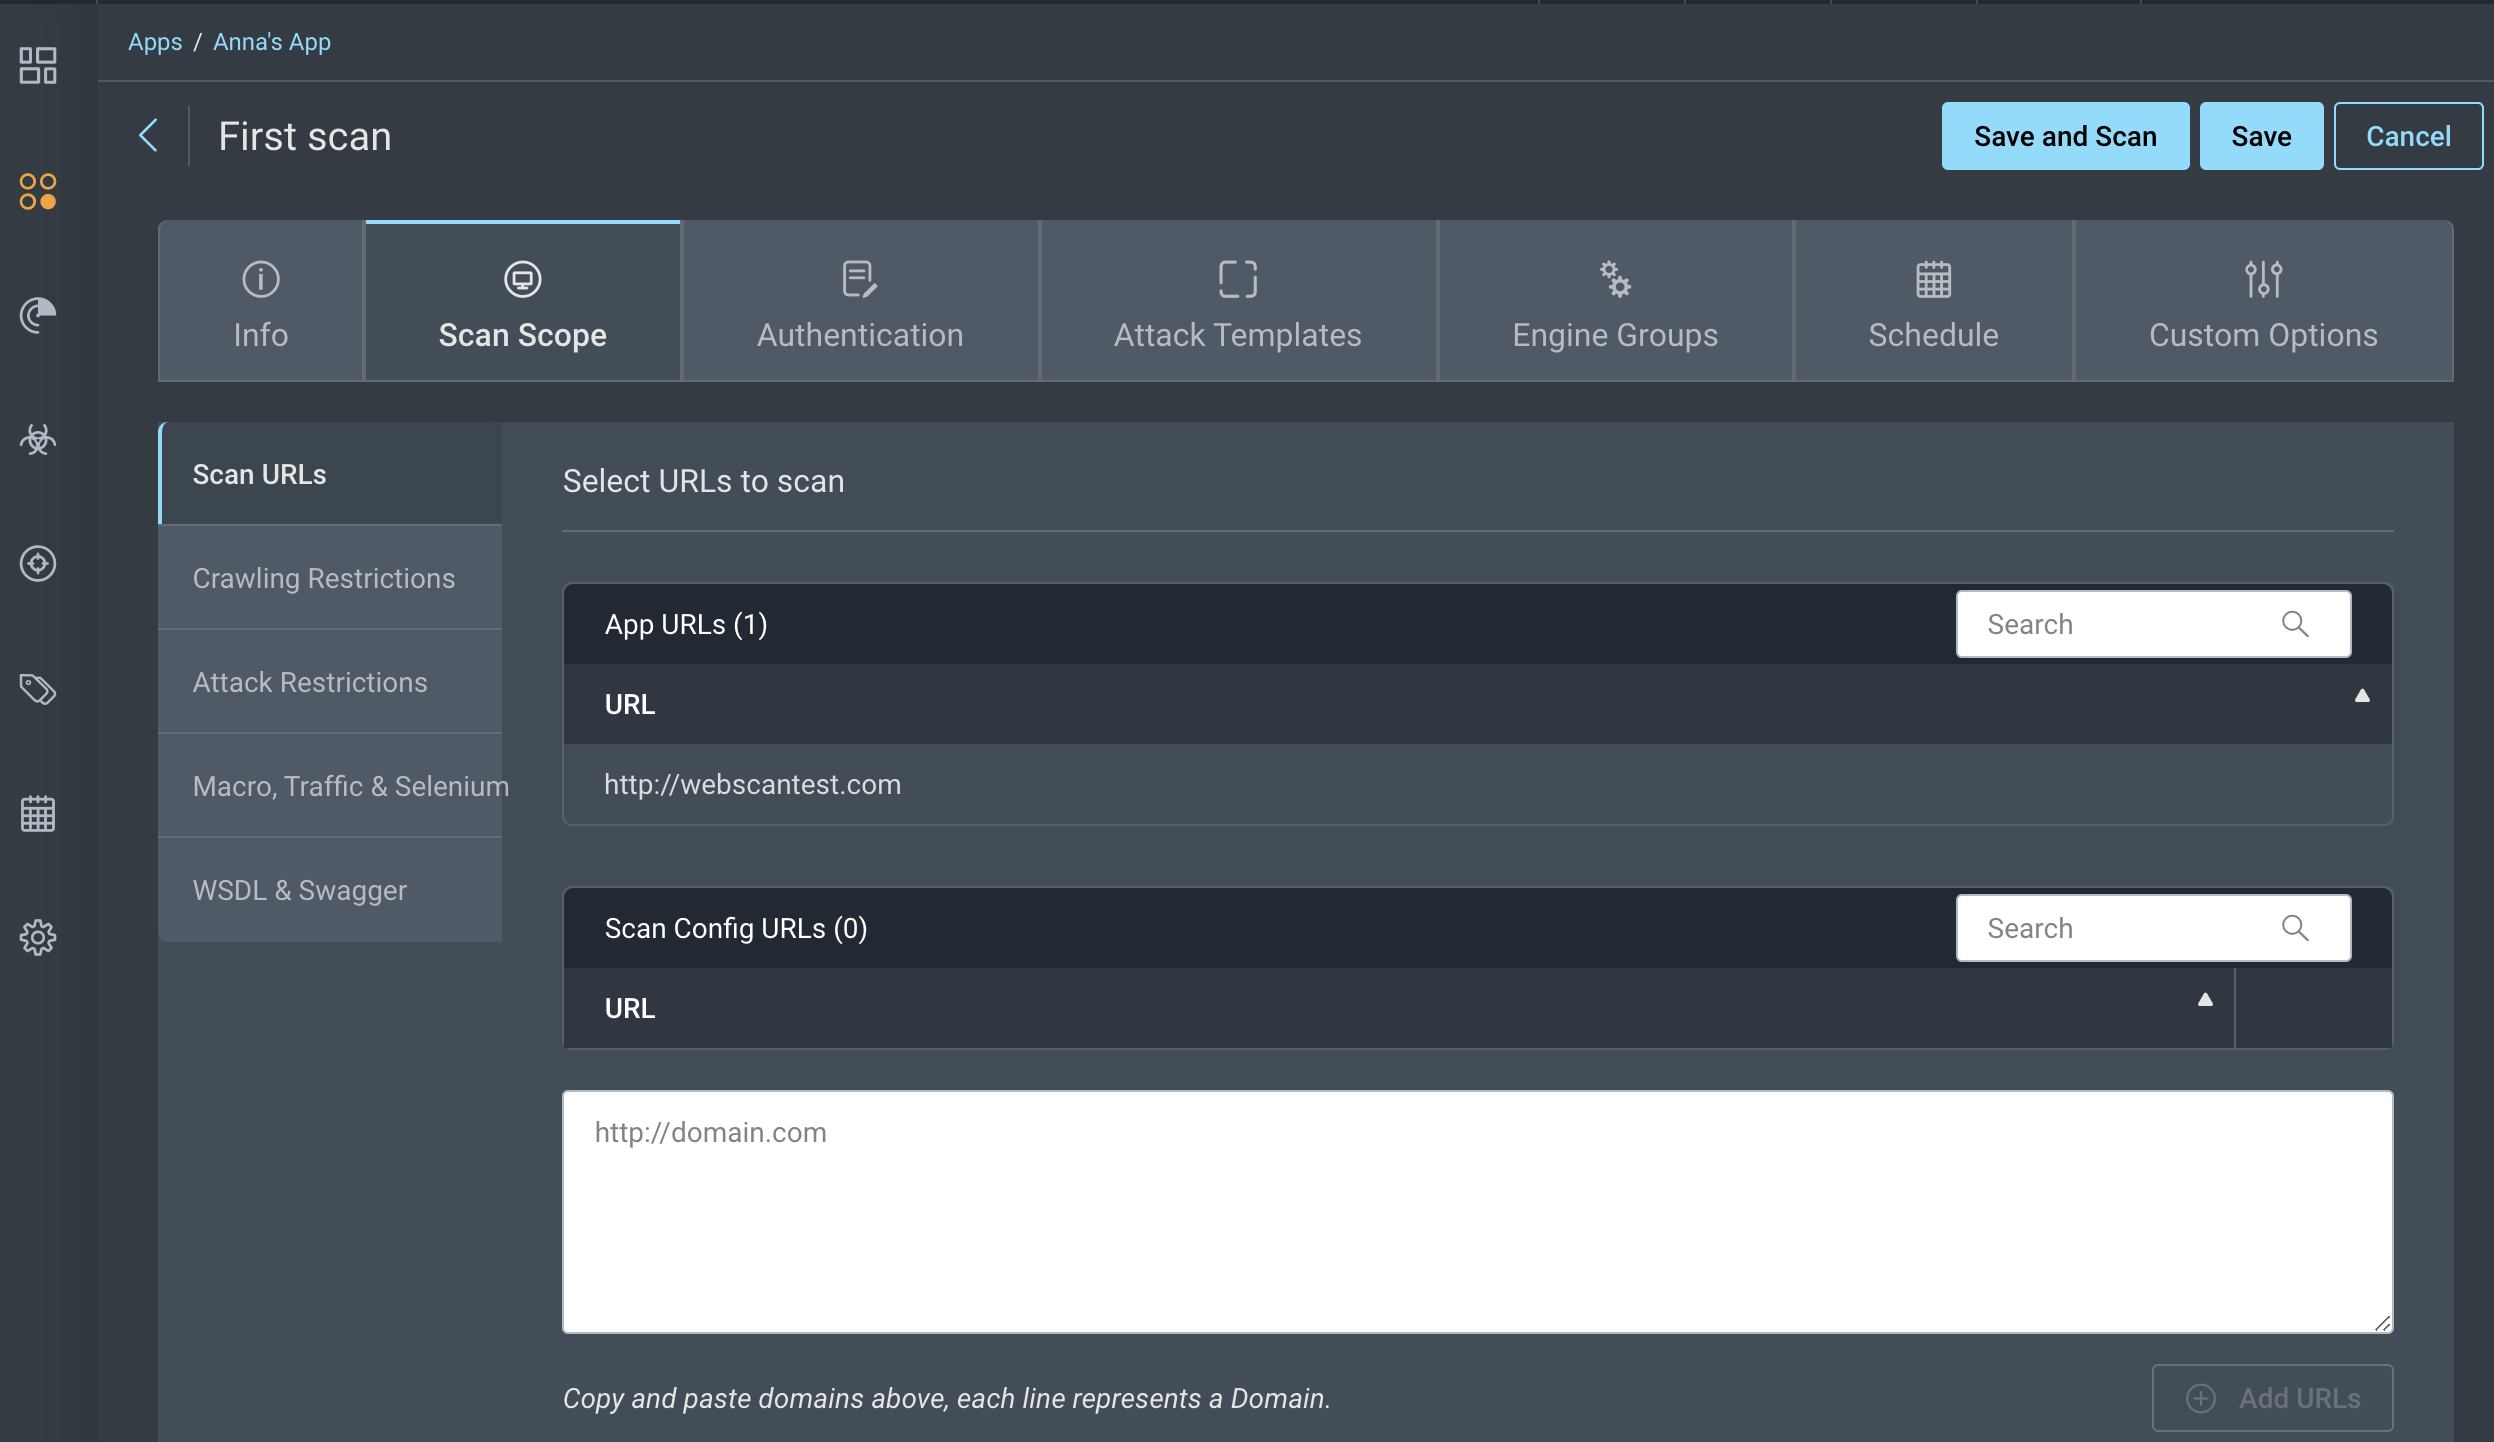
- Set the Scan Scope which includes settings like the maximum number of pages to crawl, URLs to include or exclude from the scan, as well as parameters to include or exclude from the scan. If you are using the tool to test a customer-facing application, it would be useful to either use a low number of links to crawl or restrict your testing to a small subsection of the site using wildcards.
- Add your authentication credentials if certain parts of the app are visible only after logging in. The webscantest and hackazon apps accept Basic and Form authentication, but you can also try authentication on your own apps and experience improved scan results.
- Select an attack template. For the first scan, we recommend using the “Crawl Only” template to make an inventory of the publicly visible resources on your web application. You can then focus on a smaller subsection of the app to run more comprehensive tests such as the “All modules” template.
- Click Save.
- (Optional) To control the timing of scans around other activity in your network, create Schedules and Blackouts.
Success! You created a scan config
Now that you’ve created a scan config, it’s time to run a scan.