Jenkins Continuous Integration with AppSpider
The AppSpider Plugin for Jenkins allows you to configure settings to automatically trigger AppSpider scans when builds of your web application complete. This enables your team to find security defects earlier in the software development lifecycle and automatically assign those defects to developers for remediation.
The plugin is only available for AppSpider Enterprise.
Continuous Integration is a software development process in which developers on a team can integrate their work frequently. Each integration is verified by an automated build, one or more times per day. Many organizations that adopt this approach accelerate the software development process through automation and allow a team to develop cohesive software more rapidly thus streamlining QA efforts and reducing cost and time to market.
Jenkins is an open source continuous integration tool written in Java. Builds can be started by various means, including being triggered by commit in a version control system, by scheduling via a cron-like mechanism, by building when other builds have completed, and by requesting a specific build URL.
Installation Instructions
There are 2 methods of installing the AppSpider Plugin for Jenkins Continuous Integration.
Installation Method 1
When using this method, an HPI file is required to successfully install the AppSpider plugin for Jenkins.
- Clone the git repository.
https://github.com/rapid7/jenkinspider.git
- Change the directory to the jenkinspider repository.
$ cd jenkinspider
- Build the hpi file. For first time build run:
$ mvn hpi:run
- When the build is complete, cancel the session by typing CTRL + C. This step is needed to generate the necessary folder.
If the build is successful, the hpi file is located at target/jenkinspider.hpi. For successful builds, you’ll be able to run:
$ mvn hpi:hpi
Installation Method 2
- Open Jenkins in a browser.
- Select Manage Jenkins.
- Select Manage Plugins.
- In the plugin page, select the Available tab.
- Locate the AppSpider Plugin and select the corresponding checkbox. You can scroll down, or type AppSpider in the filter textbox.
- Depending on how your Jenkins installation is set up, you may or may not need to restart Jenkins after installing the plugin. See your organization’s Jenkins administrator for more information. Depending on your organization’s needs, select either Install without restart or Download now and install after restart.
Setting up the global configuration
Configure global settings and paths in order to trigger AppSpider scans when builds complete.
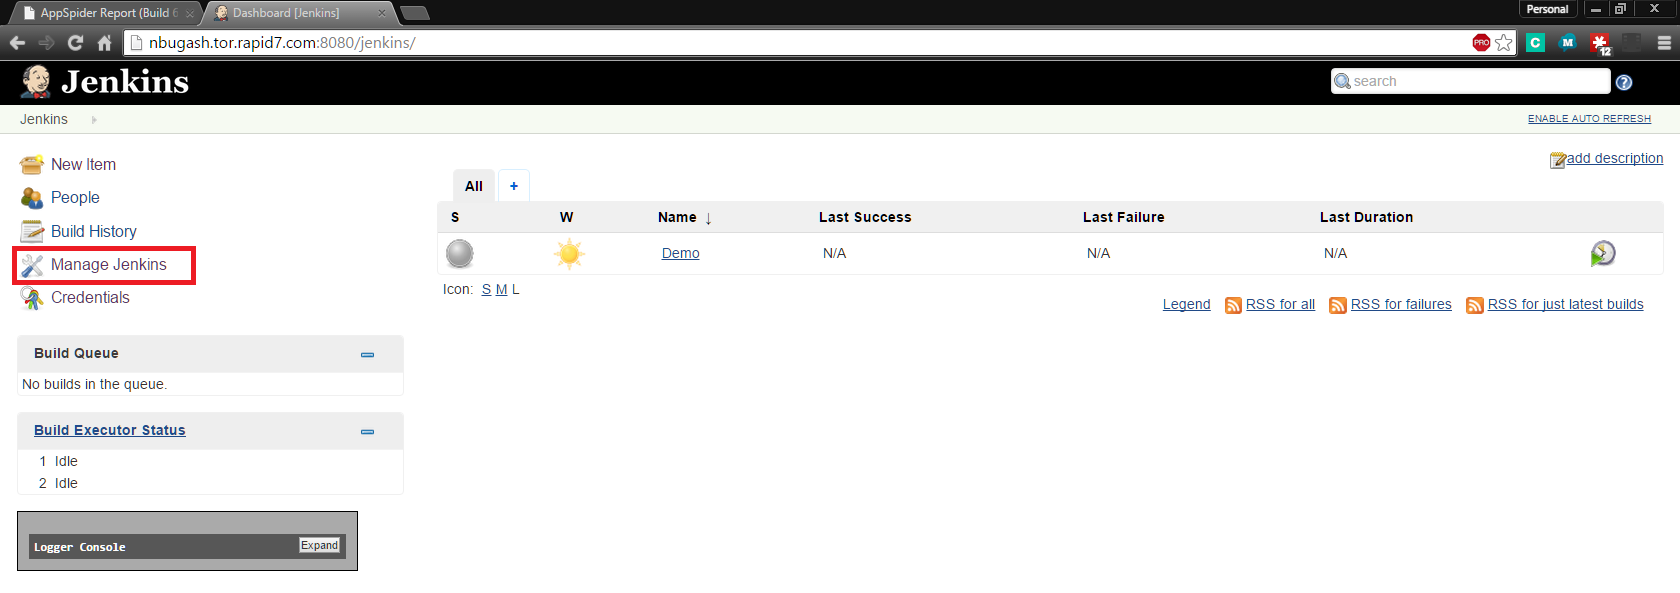
- Select Manage Jenkins.
- Select Configure System.
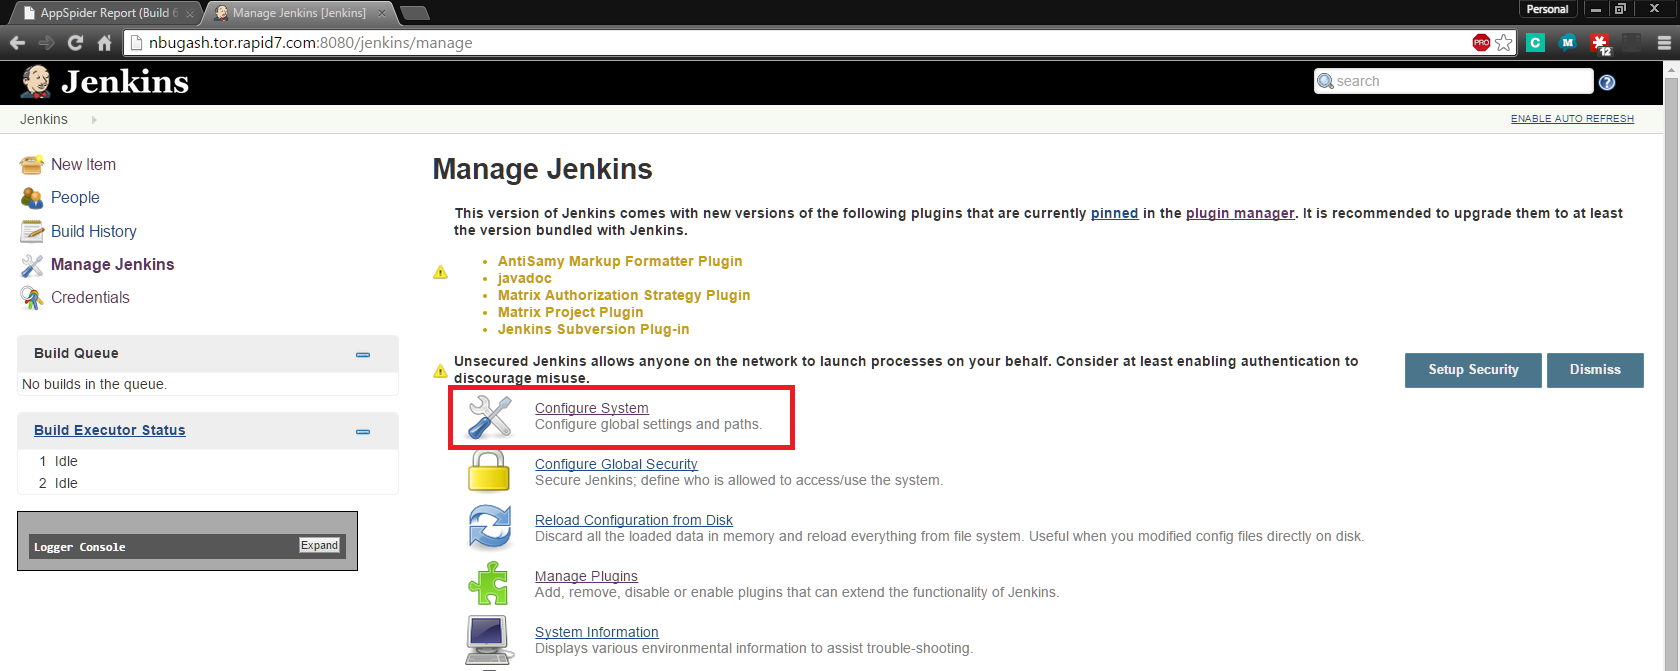
- Scroll down to AppSpider Global Configuration and provide the requested information.

- AppSpider Rest Url : The RESTful API url used by AppSpider Enterprise.
- Username : The username used to log into AppSpider Enterprise.
- Password : The password used to log into AppSpider Enterprise.
- Save the settings.
Configuring an existing build to initiate an AppSpider scan
Builds can be configured to kick off AppSpider scans by selecting the appropriate AppSpider scan configuration.
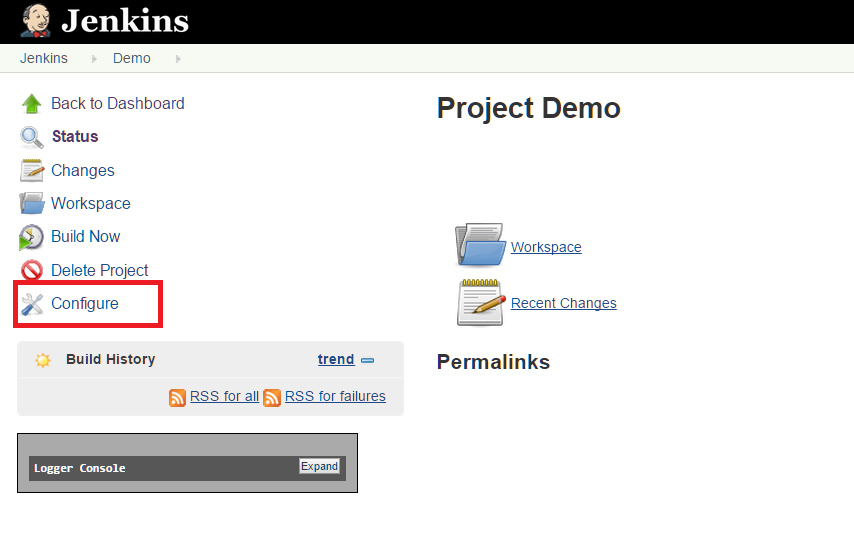
- Open an existing build and select Configure.
- Scroll down to the Post-Build Actions section.
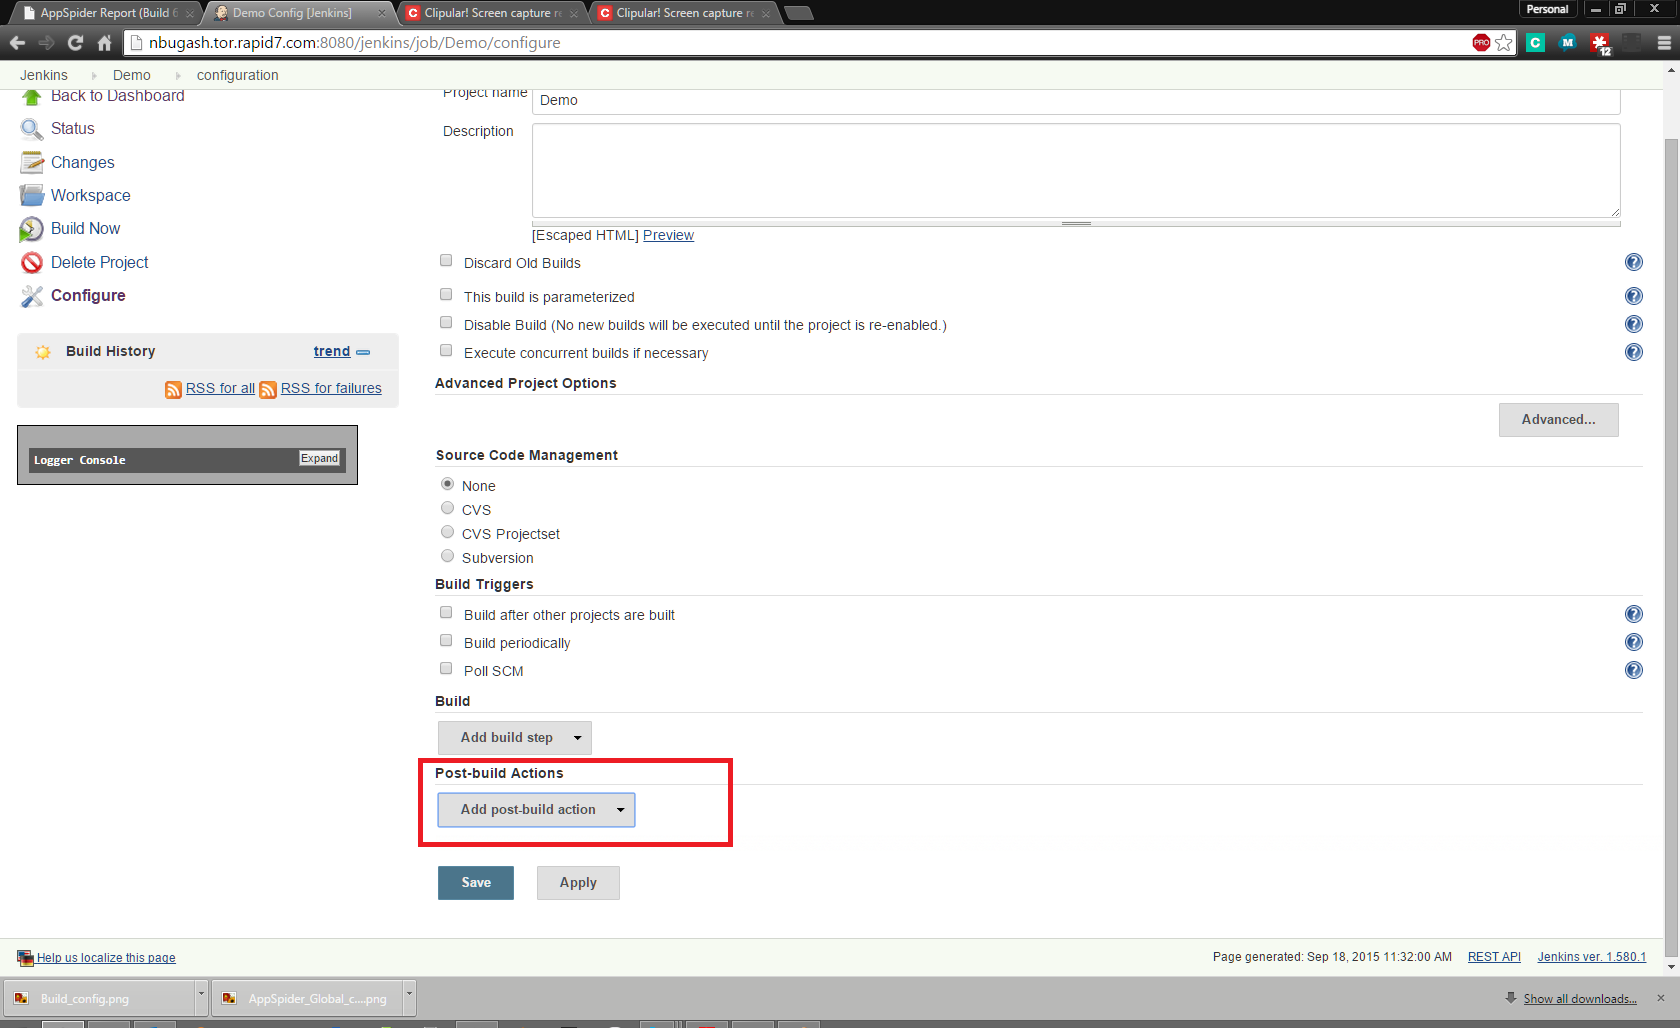
- From the Post-Build Actions dropdown, select Scan build using AppSpider.
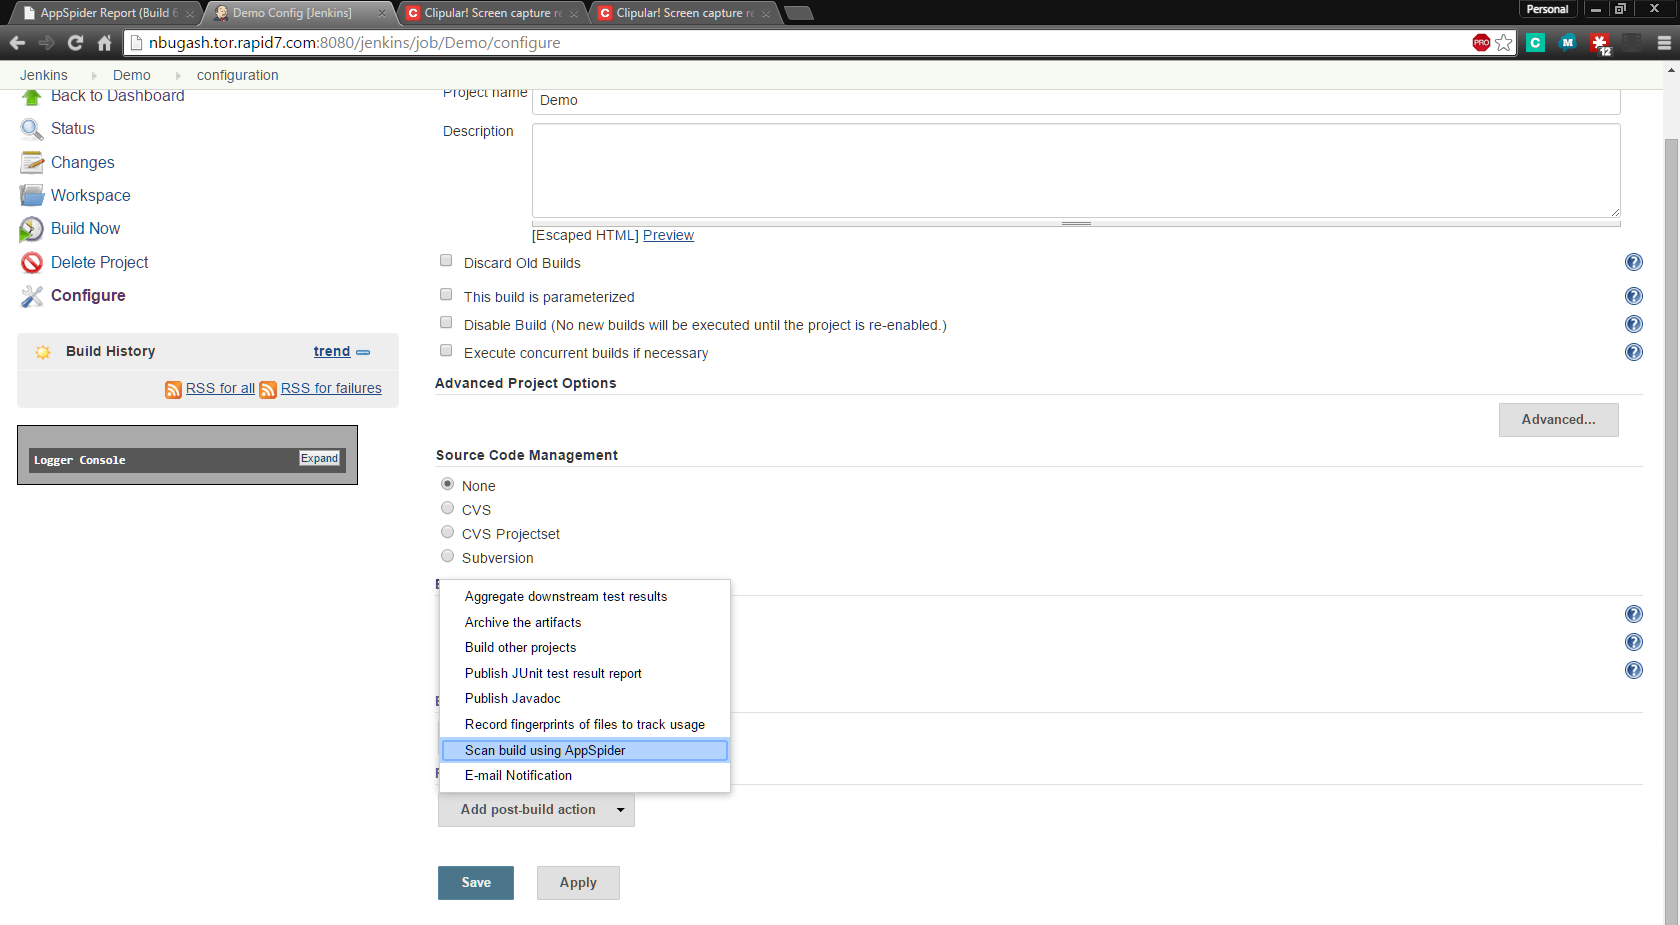
- Provide the requested information in the Scan build using AppSpider section.

- Scan configuration : A list of all available scan configurations in AppSpider Enterprise.
- Report name : After a successful scan, AppSpider will generate an xml report. This is what Jenkins will rename the xml report to.
- Run the scan after the build finish? : If selected, after a successful build, this will trigger an AppSpider scan to the build. Otherwise, the build will continue.
- Obtain the report after the scan finished? : If this option is selected, Jenkins will obtain the report generated by AppSpider and placed it on the build workspace.
- Click Save.