About Reports
A report clearly presents project data in a distributable and tangible output format. It organizes your findings into relevant sections, displays charts and graphs for statistical data, and summarizes major findings. This is extremely useful when you need to share information with people who do not have access to Metasploit Pro or who want to quickly process your test results.
All tasks related to reports, such as generating, downloading, emailing, and deleting them, can be performed from the Reports area of the web interface. Notification Center Statuses for Reports When you generate a report, the Notification Center alerts you when a report has started generating, finished generating, or encountered an error during generation. The Notification Center appears as an icon in the upper-right corner of the global toolbar and displays the total number of unread notifications. You can click on the Notification Center icon to display a list of alerts.
The Notification Center displays the following statuses for reports:
- Report started - This status indicates that the report has started generating.
- Report finished - This status indicates that the report was generated without errors and is ready for you to view and download. You can click on the alert to open the report. When you open the report from the Notification Center, it displays a unified view of the report and shows the formats that are available for it. You can click on any of the format icons to view the report in the selected format.
- Problem with report - This status indicates that there was an issue with the report and it was not able to finish. You will need to view the report log to troubleshoot the issue. Generating a Standard Report
- Open the project that contains the data you want to use to create a report.
- Select Reports > Create Standard Report from the Project tab bar.

The Reports page appears with the Generate Standard Report tab selected. 3. Click the Report type dropdown and choose the report you want to generate.
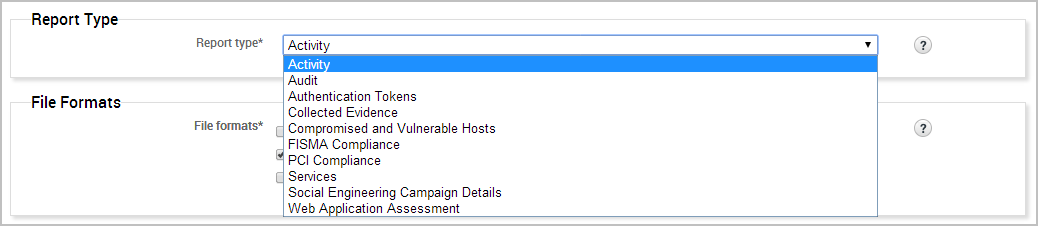
- Choose the file formats you want to generate for the report.

You can generate multiple formats for a report at the same time. Most reports can be generated as PDF, Word, RTF, or HTML documents; however, the Web Application Assessment Report cannot be generated as a Word file. 5. Enter a name for the report in the Report Name field. (Optional)

If you do not specify a name, Metasploit Pro uses the report type and the timestamp. For example, an Audit Report will be named Audit-20140106140552.
- Use the Included addresses to explicitly define the hosts you want to include in the report. (Optional)
For example, if you only want to include specific hosts in the report, you should define those hosts in the Included Addresses field. All other hosts will not be included in the report. 7. Use the Excluded addresses to explicitly define the hosts you want to exclude from the report. (Optional) For example, if you only want to exclude specific hosts from the report, you should specify those hosts in the Excluded Addresses field. All other hosts will be included in the report.
- Click the Campaign dropdown and select the campaign you want to use to create a report. (Social engineering reports only)
The report form only displays the campaigns that are stored in the project. 9. Click the Cover Logo dropdown and select the logo that you want to use on the cover page of the report.
If you have not uploaded a logo to the project, you must upload the logo that you want to use to the Custom Report Collateral area of the project. 10. Select the report sections that you want to include in the report. 11. Enable or disable any report options to manage the data that appears in the report.
The report form displays the options that are applicable for the report type that you have selected. The following report options may be available:
- Mask discovered passwords - Removes all credentials, including plain text passwords, hashes, and SSH keys, from the report. The report displays the user name and a blank password.
- Include session details - Shows the details for each session Metasploit Pro was able to open, such as the session type and attack module that Metasploit Pro used to obtain the session.
- Include charts and graphs - Includes visual aids, such as pie graphs, to accompany statistical findings in a report.
- Include web page HTML (in addition to image preview) - Includes the original page code as raw text as well as the rendered preview image. (Social Engineering Campaign Details Report only)
- Enter the email addresses you want to send the report to after the report generation. You can use a comma or semi-colon to separate multiple email addresses.
To email a report, you must have an active mail server configured through the Global Settings. 13. Generate the report.
When the report generation begins, the web interface redirects you to the View Reports tab. At this point, you can navigate away from the Reports page to other areas in Metasploit Pro. The Notification Center will alert you when the report generation completes.
When the report generation completes, you can click on the Notification Center icon to view the notification message or you can select Reports > Show Reports from the Project tab bar to access the Reports area.
If an error occurred during report generation, you can view the report log to identify and troubleshoot any errors that occurred.
Generating Additional Formats for a Report
- Open the project that contains the report for which you want to generate additional formats.
- Select Show Reports from the Project tab bar. The Show Reports page appears.
- Find the row that contains the report for which you want to generate additional formats.
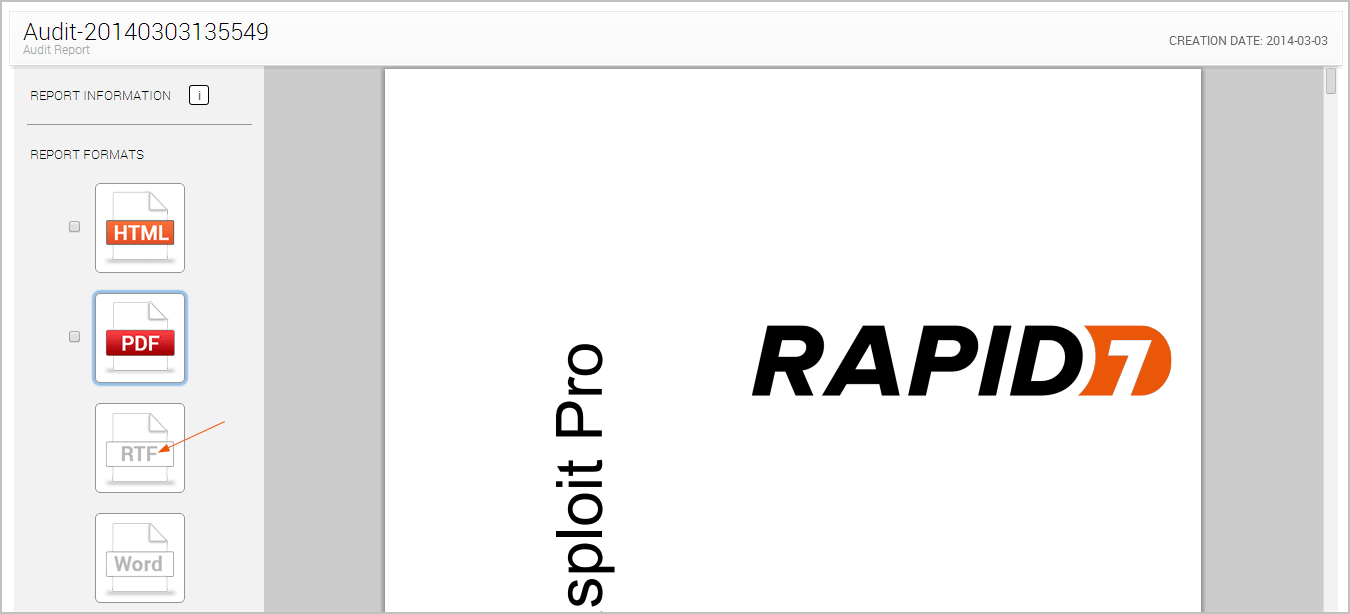
The row shows the metadata and the file formats that are available for the report. A colored format button indicates that the format has already been generated. A white format button indicates that the format has not been generated for the report. 4. Click on the report name to open it.
The unified report view will open and display a preview of the report. The formats that are available for the report will be displayed in the sidebar. Formats that have a colored icon and checkbox have already been generated. Formats that are grayed out have not been generated. 5. Click on the file format that you want to generate for the report. You can only generate one format at a time.
- When the report generation begins, the format button will be replaced with a progress indicator. The format button will reappear when the report is ready for you to view or download.
- At this point, you can navigate away from the Reports page to other areas in Metasploit Pro. The Notification Center will alert you when the report generation completes.
- When the report generation completes, you can click on the Notification Center icon to view the latest notification message or you can select Reports > Show Reports from the Project tab bar to access the Reports area.
- If an error occurred during report generation, you can view the report log to identify and troubleshoot any errors that occurred.
Generating MetaModule Reports
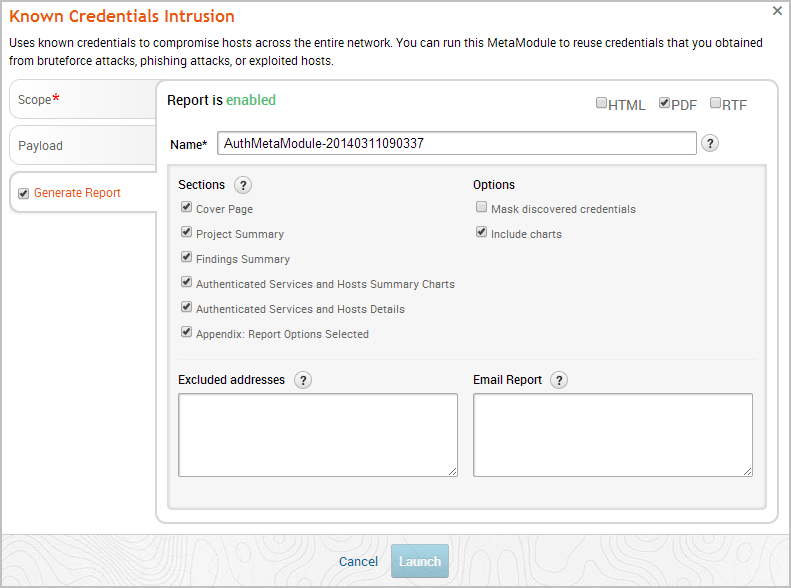
A MetaModule provides a guided interface to walk you through a single penetration testing task. Each MetaModule leverages the core functionality of a module, such as password testing, but enables you to quickly configure and run the module with minimal set up. Each MetaModule includes a specialized report, which contains data that is specific to the MetaModule run.
MetaModule reports are configured from within the MetaModule and are generated when the MetaModule runs. After the MetaModule generates the report, you can view the report from the Reports area.
Generating a Custom Report A custom report is created using a user-uploaded Jasper report template. The template defines the layout of the report and the sections that the report contains. You can create a report template from scratch using a tool like iReport. For more information on custom templates, see Working with Custom Templates.
Before you can generate a custom report, you must upload the template that you want to use to the Custom Report Collateral area of the project. If the project does not contain any custom report templates, the New Custom Report form will not load. Instead, the form displays a warning that the project does not contain any templates. You must upload a valid JRXML template to continue. For more information on uploading a custom template, see Uploading Templates.
To generate a custom report:
- Open the project that contains the data you want to use to create a report.
- Select Reports > Create Custom Report from the Project tab bar. The New Custom Report page appears.

- Select the template you want to use to create the report.
- Choose the file formats you want to generate for the report.
You can select multiple formats. All formats will be generated for the report at the same time. 5. Enter a name for the report in the Report Name field. (Optional)

If you do not specify a name, Metasploit Pro uses the report type and the timestamp. For example, a custom report will be named Custom-20140106140552.
- Use the Included addresses to explicitly define the hosts you want to include in the report. (Optional)
For example, if you only want to include specific hosts in the report, you should define those hosts in the Included Addresses field. All other hosts will not be included in the report. 7. Use the Excluded addresses to explicitly define the hosts you want to exclude from the report. (Optional) For example, if you only want to exclude specific hosts from the report, you should specify those hosts in the Excluded Addresses field. All other hosts will be included in the report.
- Click the Cover Logo dropdown menu and select the logo you want to display on the cover page of the report. (Optional)
If you do not select a logo, the report will use the default Rapid7 logo. 9. Enter the email addresses you want to send the report to after the report generates. (Optional)
You can use a comma or semi-colon to separate multiple email addresses.
To email a report, you must have an active mail server configured through the Global Settings. 10. Generate the report.
When the report generation begins, the web interface redirects you to the View Reports tab. At this point, you can navigate away from the Reports page to other areas in Metasploit Pro. The Notification Center will alert you when the report generation completes.
When the report generation completes, you can click on the Notification Center icon to view the notification message or you can select Reports > Show Reports from the Project tab bar to access the Reports area.
If an error occurred during report generation, you can view the report log to identify and troubleshoot any errors that occurred. Downloading a Report
- Open the project that contains the report you want to download.
- Select Reports > Show Reports from the Project tab bar. The Reports page appears.

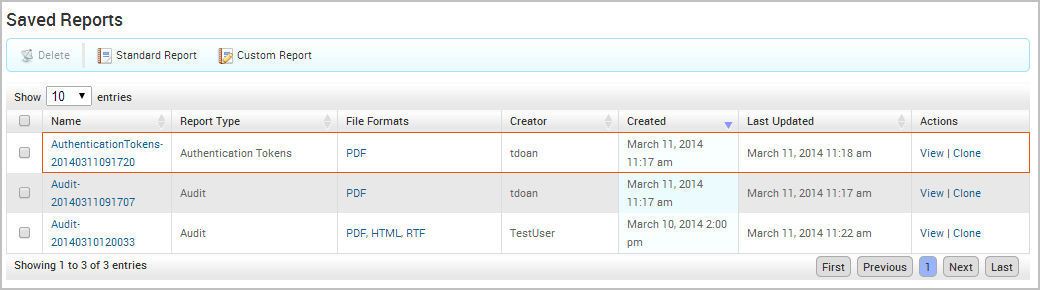
- Find the row that contains the report you want to view.
The row displays the metadata and the file formats that have been generated for the report. A colored format button indicates the report is available for that format. A white format button indicates that the format has not been generated for the report.
If the format you want has not been generated, you can click on the format button to run the report. 4. Click on the report name to open it. The unified report view will open and display a preview of the report. 5. Select the formats you want to download.
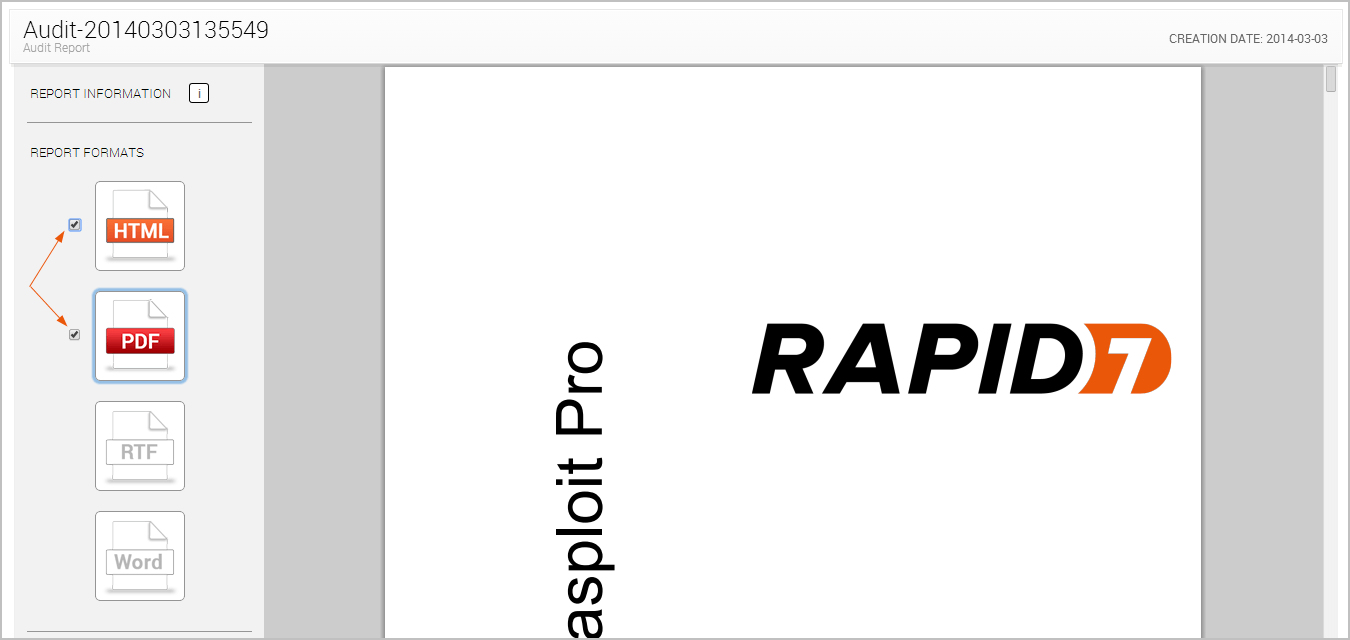
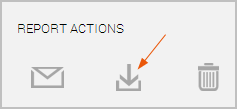
The formats that are available for the report will have an active checkbox located next to them. 6. Click the Download button located under the Report Actions area.
The download process will automatically start.
If your browser is not configured to automatically download files, a dialog window will appear and prompt you to save or run the file. You will need to save the report to your computer. Viewing a Report
- Open the project that contains the report you want to view.
- Select Reports > Show Reports from the Project tab bar. The Reports page appears.
- Find the row that contains the report you want to view.
The row displays the metadata and the file formats that have been generated for the report. 4. Click on the format that you want to view the report in.
The report will open in your browser. Emailing a Report You can quickly share reports by emailing them as soon as they are generated. Both the standard and custom report generation forms have an Email Report field that enables you to define a list of email recipients.

As long as you have a valid mail server configured for your Metasploit Pro instance, the report will automatically be sent to the emails you have listed.
Setting Up a Mail Server
In order to utilize email capabilities, you must have access to a local mail server or a web mail server. You need the address and port that the mail server runs on, the domain name that hosts the mail service, and the credentials for the mail server. Cloning a Report Configuration You can clone a report to make a copy of an existing report’s configuration. Report cloning enables you to reuse and rerun a previously generated report. You can modify the configuration or run it as it is.
To clone a report:
- Open the project that contains the report you want to delete.
- Select Reports > Show Reports from the Project tab bar.
The Reports page appears. 3. Find the row that contains the report that you want to clone.
- Click the Clone link located under the Actions column.

The New Report form appears. The form retains the configuration settings that you used to generate the original report. Deleting Reports When you delete a report, it will be permanently removed from the Reports directory, and you will no longer be able to view it from the Reports area of the web interface. Please make sure that you have the data that you need from the report before you delete it.
To delete a report:
- Open the project that contains the report you want to delete.
- Select Reports > Show Reports from the Project tab bar.
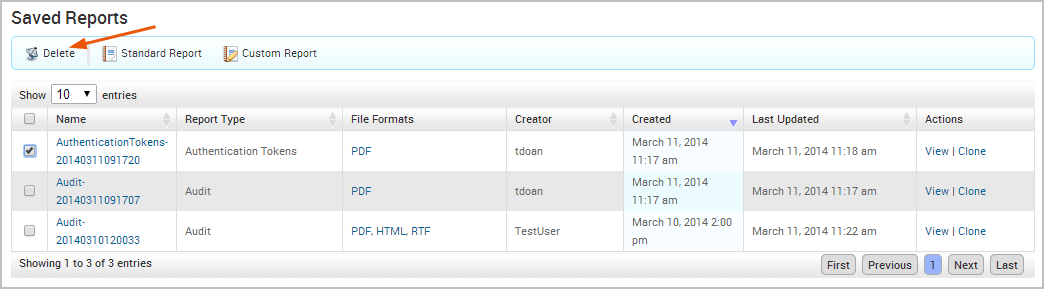
The Reports page appears. 3. Select the report or reports that you want to delete. 4. Click the Delete button located in the Quick Tasks bar.
The browser will ask you to confirm that you want to delete the report. 5. Select OK to delete the report.