Single Credential Testing MetaModule
The Single Credential Testing MetaModule recycles a known credential pair to identify additional systems that can be authenticated. You can run this MetaModule to demonstrate how password reuse could expose major weaknesses in an enterprise’s security posture. A single cracked password can enable you to easily compromise other systems that share the same password.
To use the Single Credential Testing MetaModule, you need to provide it with a known credential pair that you’ve uncovered through a scan, bruteforce attack, or phishing attack. When you configure this MetaModule, you need to define the target hosts and the services that you want to attempt to authenticate. After the MetaModule completes its run, it generates a report that details the hosts on which it was able to authenticate the credentials. Lockout Risks An account lockout disables an account and prevents you from accessing the account for the duration of the lockout period. When you configure the Single Credential Testing MetaModule, you should factor in the lockout risk for the services that you choose.
Each service is categorized into the following lockout risks:
- Low Risk - Any service that typically does not enforce account lockouts, such as AFP, DB2, EXEC, FTP, HTTP, HTTPS, LOGIN, Oracle, Postgres, SHELL, SNMP, SSH_PUBKEY, Telnet, and VNC.
- Medium Risk - Any service that typically enforces account lockouts, such as MSSQL, MySQL, POP3, and SSH.
- High Risk - Any service that uses Windows authentication, such as PC Anywhere, SMB, vmauthd, and WinRM. Running the Single Credential Testing MetaModule
- From within a project, select Modules > MetaModules.
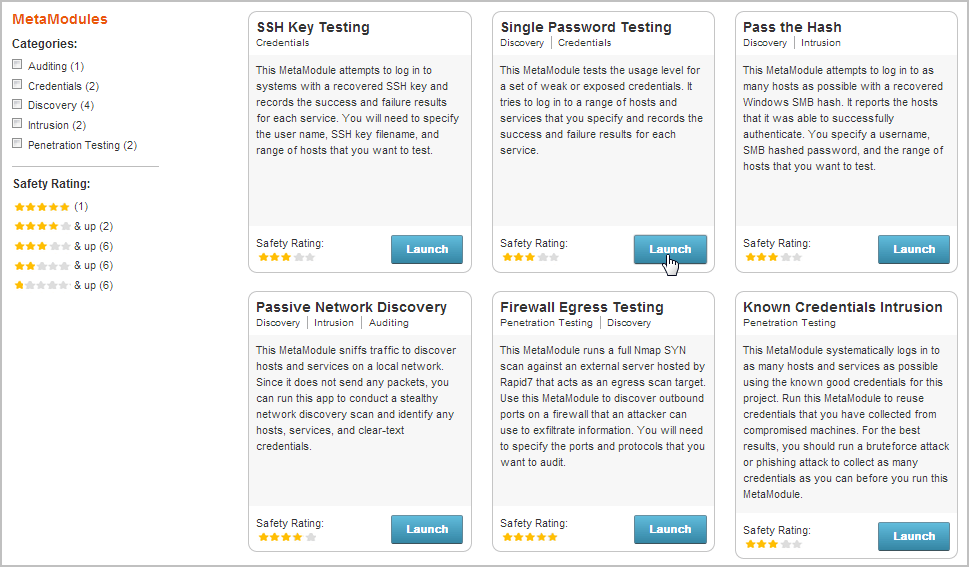
- Find the Single Credential Testing MetaModule and click the Launch button. The Single Credential Tester window appears.
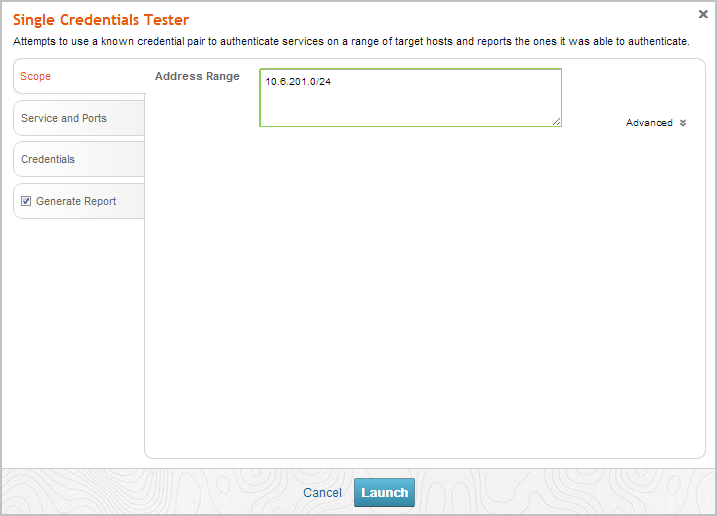
- From the Scope tab, enter the target address range you want to use for the test. The target address range must match the hosts in the workspace.
- Click on the Services and Ports tab. The Services form appears.
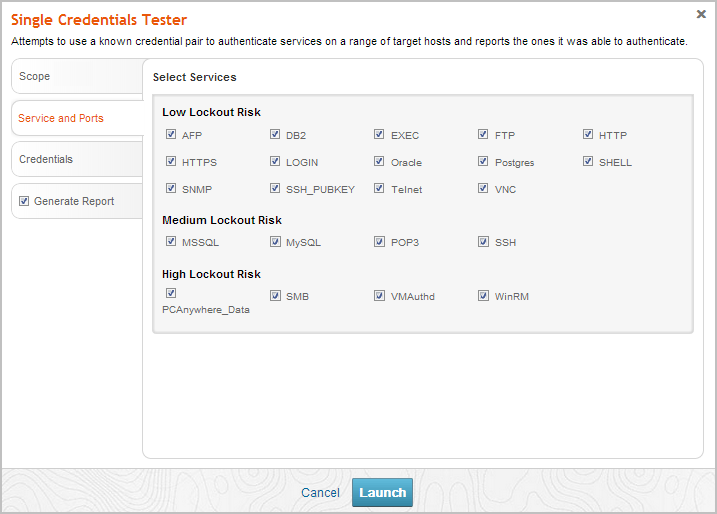
- Select the services that you want to attempt to authenticate. All services are categorized based on their lockout risk, which is the likelihood that the service enforces account lockouts.
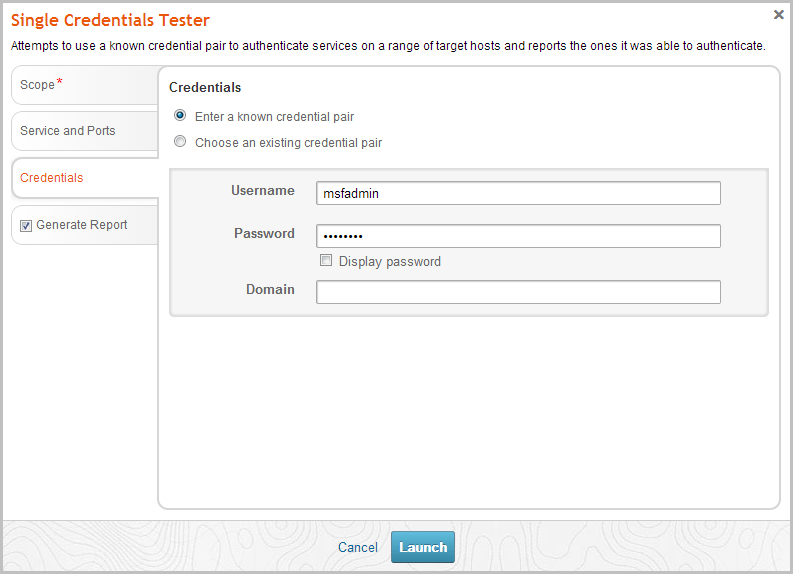
- Click on the Credentials tab. The Credentials form appears.
- You can choose one of the following options to supply the MetaModule with credentials:
- Enter a known credential pair - You need to manually enter the user name and password combination that you want the MetaModule to use. Use this method for credentials obtained from phishing attacks.
- Choose an existing credential pair - You can select the user name and password combination from a list of known credentials. These credentials were obtained from a bruteforce attack, discovery scan, or data import.
- Click the Report tab. The Report configuration form appears.
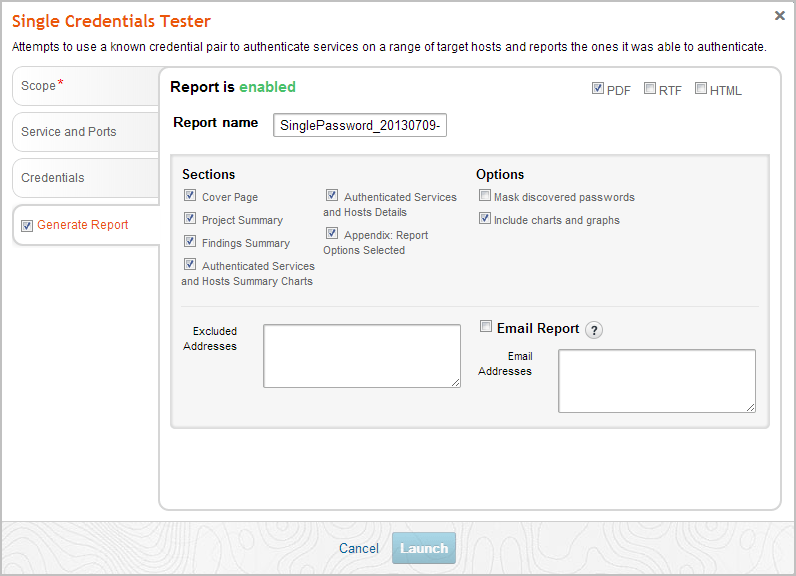
- Enter a name for the report in the Report Name field, if you want to use a custom report name. Otherwise, the MetaModule uses the default report name.
- Select PDF, Word, RTF, or HTML for the report format.
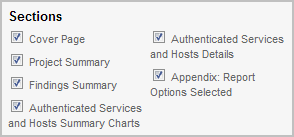
- From the Sections area, deselect any sections you do not want to include in the report. Skip this step if you want to generate all the report sections.
- Select the Email Report option if you want to email the report after it generates. If you enable this option, you need to supply a comma separated list of email addresses.
If you want to email a report, you must set up a local mail server or email relay service for Metasploit Pro to use. To define your mail server settings, select Administration > Global Settings > SMTP Settings.
- Click the Launch button.
When the MetaModule launches, the Findings window appears and displays the real-time statistics and tasks log for the MetaModule run. You can track the total number of hosts that the MetaModule attempted to authenticate, the total number of login attempts, and the total number of successful logins. If you want to view all the event details, you can click on the Task Log tab.
After the MetaModule completes its run, you should go the Reports area to view the Single Credential Testing Report. The first few pages of the report show graphs and tables that provide a high-level breakdown of authenticated services and hosts. For a more detailed look at the compromised hosts, you can look at the Authenticated Services and Hosts Details section, which shows the services that were authenticated and the sessions that were opened on each host.