Automation (InsightConnect) Builder
The Automation (InsightConnect) Builder is where you’ll create custom workflows or snippets. From here, you can access the different parts of the builder to put together your workflows and snippets. There are two main sections in the builder — the canvas and the configuration panel.
Canvas
This is where the workflow or snippet will be displayed and built. You can also zoom in and out on the workflow or snippet.
Working in the Canvas
To move around in the Canvas and view different parts of your workflow or snippet, click any empty space in the Canvas and drag the screen into your desired view. To resize the Canvas, use your mouse’ scroll function to zoom in and out. If you use Cmd+/- or Ctrl+/-, you will resize the entire window.
Canvas Details
When you finish configuring steps, the step names appear above each step icon. Steps are displayed with these indicators:
- Blank small blue circle - the new step has not been configured yet
- Green circle, square, or diamond with icon or logo - the step was successfully configured
- Blue circle, square, or diamond with icon or logo - you are currently modifying this step
Manipulating Single Steps
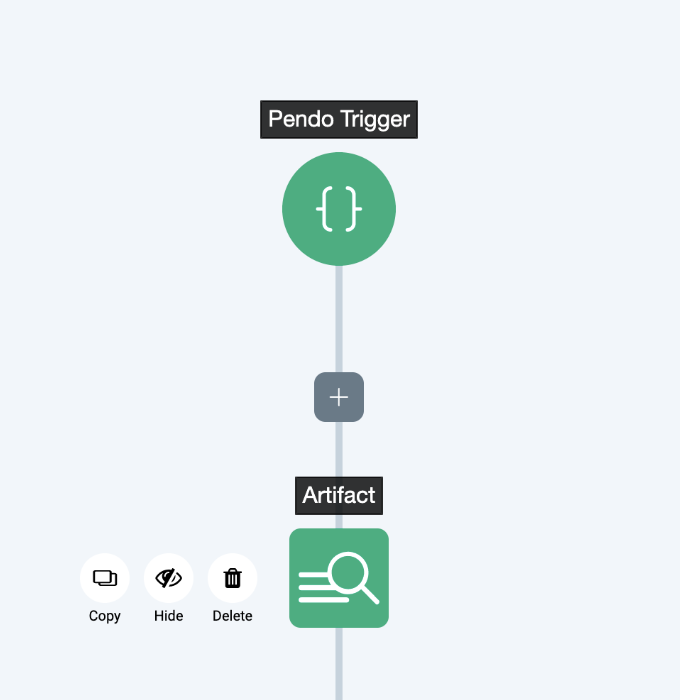
Copy & paste, hide, or delete a step while in edit mode in the workflow builder.
To copy and paste a step, hover over a step and click on the copy icon that appears on the left hand side of the step. This will add the step’s connection information and configuration details to the clipboard.
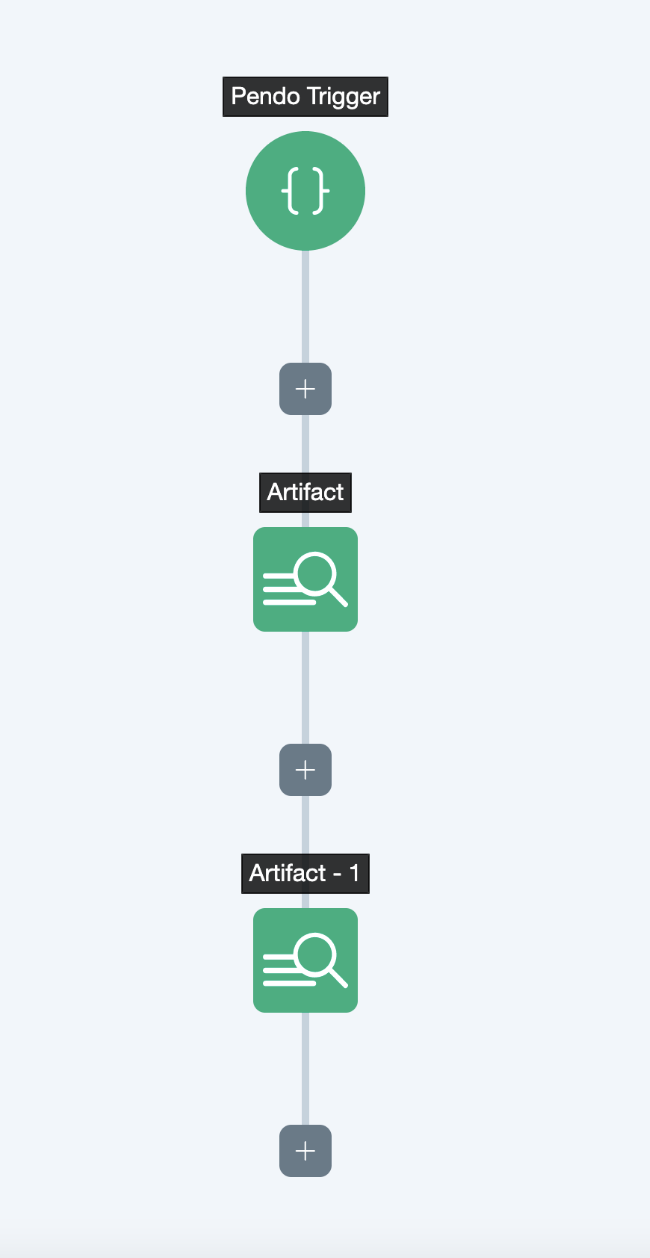
Hover over the + icon in the area you would like to paste the step from your clipboard.

Click on the paste icon that appears on the left hand side of the +. Steps can be pasted within a workflow, across tabs, or across unique workflows. If the step that has been pasted has the same name as a previous step, the new step name will be appended with a number. If you copy a step to an area of the workflow where the configured variables are invalid, a warning banner will appear with a “can’t find variables” message. Snippets cannot be nested—you can’t paste steps including a Snippet step into another Snippet.
Manipulating Multiple Steps
Copy & paste multiple steps at once by entering the Manage Steps mode in the builder.
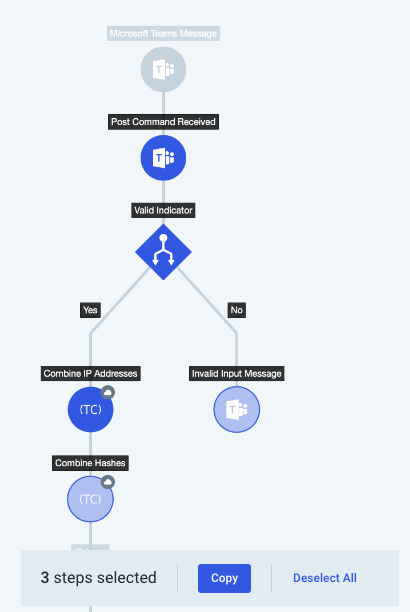
To copy multiple steps, click Manage Steps in the upper right hand corner of the builder. Then, select one or more steps by clicking on the step. Triggers cannot be selected in manage steps mode.
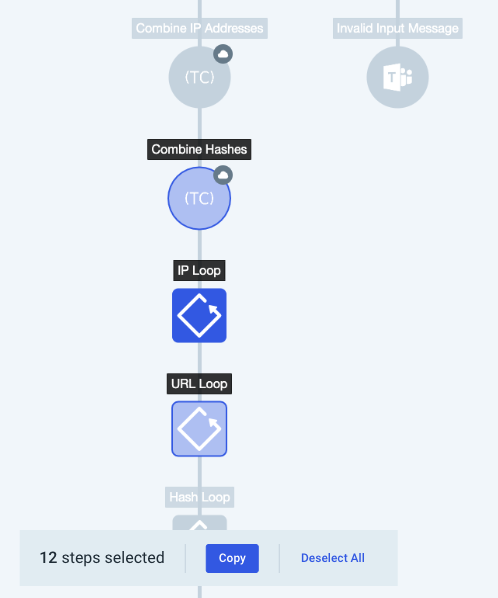
Selecting a loop in manage steps mode will automatically include all steps within the loop. In order to copy or select individual steps within the loop, navigate into the loop and then enter Manage Steps mode.
Prior to selecting a join step, at least two paths leading to the join must be selected. Decision steps cannot be deselected if two or more of its paths are selected.
Step Data Storage
On copy, step data persists within an organization in the current user’s local browser cache until overwritten or cleared. Local browser storage has a limit of ~5MB. If the step data being copied/pasted exceeds this limit, the user will see the error Failed to copy selected steps, storage limit exceeded. Reduce number of steps selected and try again.
Configuration Panel
This is where you will configure and test your workflow or snippet and all steps. Collapse the panel by clicking the X in the upper-right corner, and open the panel by adding or editing a step, or by testing a workflow or snippet.
Working in the Configuration Panel
Within the Configuration Panel, you will set all parameters for every workflow trigger or step. Each step’s configuration is a bit different from the others, but you’ll need to name and describe all types.
Get Help While Configuring Steps
Some types of steps require more complex configuration, so click on the Help button to read more about available options. Action Step plugins also have plugin documentation. Access plugin docs by opening the dropdown for a plugin in the “Choose a Plugin” step.