Mimecast
Automation (InsightConnect) features a plugin for the Mimecast software, a cloud cybersecurity email service, that allows you to permit or block senders, manage URLs, and manage group members. Deploying this plugin involves the following steps:
- Setting up a Mimecast API application
- Creating an API key and a Secret key
- Configuring the connection in Automation (InsightConnect)
For more information on the functionality of the Mimecast plugin, see the Extension Library listing.
Create an API Key in Mimecast
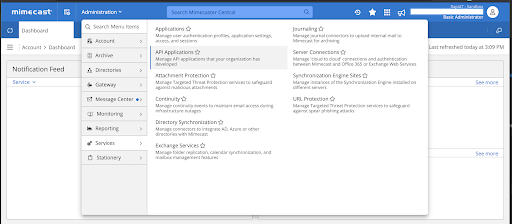
Begin by logging in to Mimecast’s admin portal. Go to Administration > Services API > Applications.
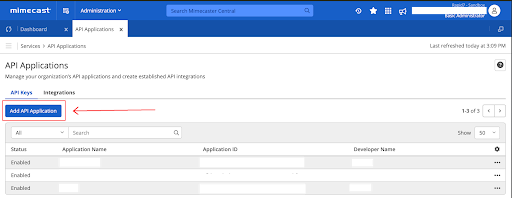
From here, create a new API Application.
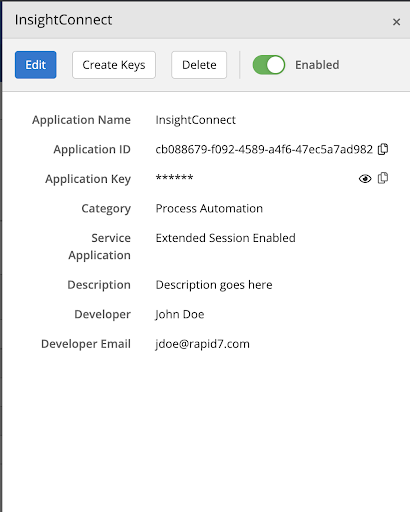
In step 1, give your application a name. This name can be anything according to your preference, but we recommend Automation (InsightConnect). Set Category to Process Automation and make sure the Service Application box is checked. Finally, give your application a suitable description.

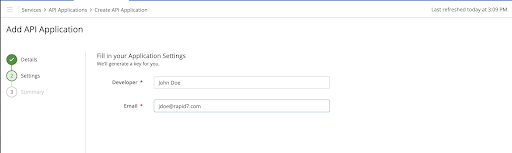
In step 2, add a developer name and email address. These should correspond to the name and email address of the person who is responsible for your Automation (InsightConnect) application.
In step 3, review everything you have entered so far.

At this point you will be given your Application ID and your Application Key. You will need both of these for the Automation (InsightConnect) connection.
As shown in step 3 of creating the application, you will have to wait 30 minutes before creating an API access and secret key.
After this 30 minute period, you can create the API access and secret key. Click the 3 dots next to your application and select Create keys.

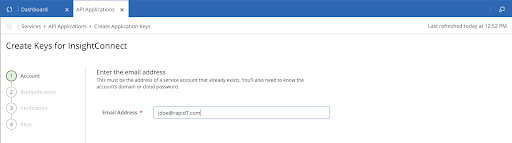
In step 1, enter the email address of the logged-in administrator.
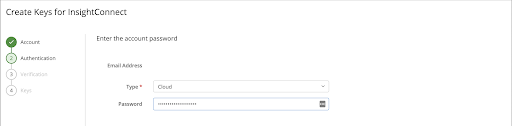
In step 2, authenticate this administrator.
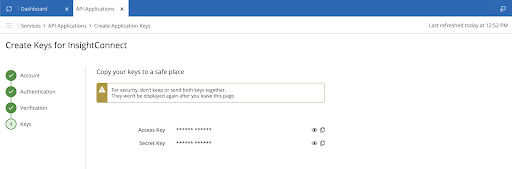
In step 3, copy the access and secret keys. Note that once you leave this page you will not be able to access these keys again.
Mimecast is now configured to allow API access.
Configure the Mimecast Connection in Automation (InsightConnect)
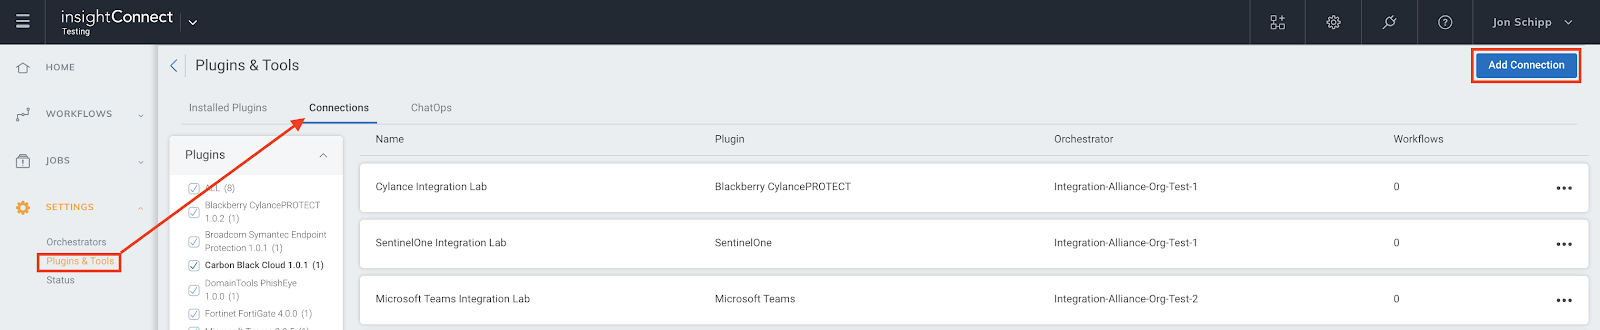
Pivoting over to Automation (InsightConnect), open the connection configuration for the Mimecast plugin. You can do this when selecting the Mimecast plugin during a workflow building session or by creating the connection independently by choosing Plugins & Tools from the Settings menu on the left menu. On the Plugins & Tools page, select the Connections tab and then click Add Connection in the top right corner.
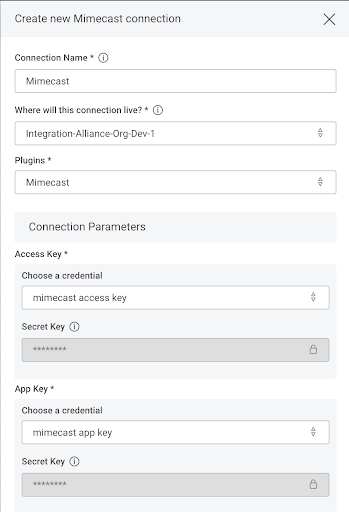
Now it’s time to configure the connection for the Mimecast plugin. Give a unique and identifiable name to the Connection,
select where the plugin should run, and choose the Mimecast plugin from the list. If it’s not available, then import the plugin from the Installed Plugins tab.
At this point, it’s time to configure your Mimecast credentials and server information. These configurations are necessary for Automation (InsightConnect) to automate your processes with Mimecast. Enter your access and secret keys into their corresponding fields. Set the URL as the API access URL for your Mimecast instance. This will normally be https://api.mimecast.com.
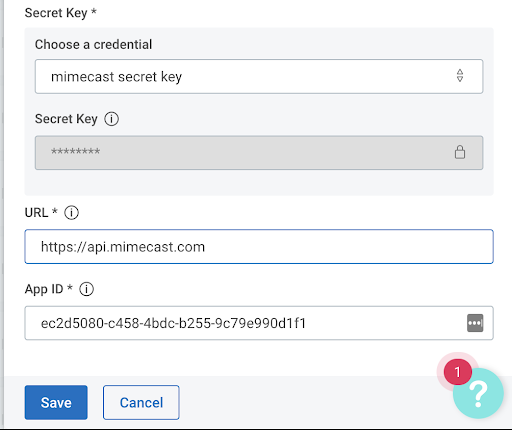
Upon saving the connection, the connection test will attempt to authenticate to the Mimecast server. A circle on the Connection tile indicates that the Connection test is in progress.

If the test succeeds, your Connection tile will appear in this clean state. You’re ready to begin orchestrating your processes with Mimecast.
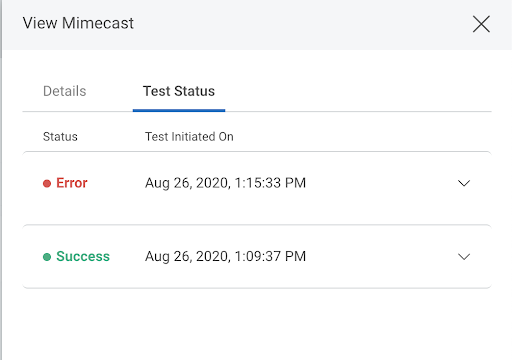
If the test fails, your Connection tile will display a small red circle. If this occurs, double-check your connection details including the server URL and credentials. You can check the logs for more details which may further indicate the problem by clicking View, selecting Test Status, and choosing the dropdown on the error status.