Bulk asset delete operations
Use Filtered Asset Search to build a query that can define a range of assets which aren’t represented by an existing site or asset group. You can execute the bulk asset delete operation on the resulting list.
Step 1: Create an asset group
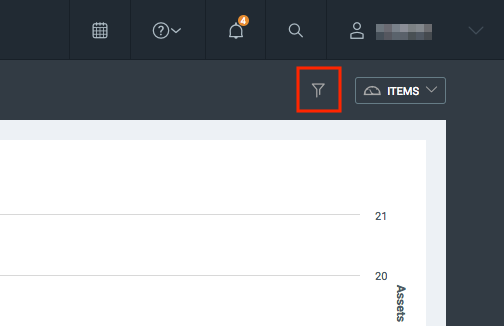
- In your Security Console, click the Asset Filter icon.

- On the Filtered Asset Search screen, use any desired filter criteria to query for the assets you need to delete. The following example returns a list of all assets running the Red Hat operating system.
TIP
See Performing filtered asset searches for more information about building these types of queries.
- Click the Create Asset Group button. The screen will display some additional fields. Before saving, complete the following:
- Specify the group type as dynamic or static.
- Give the group a recognizable name.
- Provide the group with a description so its purpose is known.
- If necessary, specify what users will have access to the group.
- Click Save when finished.
When you save your asset group, the Security Console will automatically display the “Asset Groups” table. You can click your asset group on this screen to open it.
Step 2: Bulk delete assets
You can bulk delete assets from an asset group, which removes the assets from the Security Console.
- In the Security Console, click Assets > Asset Groups.
- Click the asset group. The Security Console will display the asset group’s detail page.
- On the Asset detail page, browse to the Assets table on this screen to see a list of all included assets that you are about to delete.
- Using the master checkbox located at the column header, select all assets in the group.
- Click the Delete Assets button to execute the bulk deletion operation.
Use Case: Remove inactive assets
Asset filtering is particularly useful when you need to remove inactive assets. To create a group of assets that have not been scanned for a time period that you specify and target them for deletion, use the last scan date filter.