Creating a custom policy
To edit policies you must have the Policy Editor license, which is included with Vulnerability Management. Contact your account representative if you want to add this feature.
You create a custom policy by editing copies of built-in configuration policies or other custom policies. A policy consists of rules that may be organized within groups or sub-groups. You edit a custom policy to fit the requirements of your environment by changing the values required for compliance.
You can create a custom policy and then periodically check the settings to improve scan results or adapt to changing organizational requirements.
For example, you need a different way to present vulnerability data to show compliance percentages to your auditors. You create a custom policy to track one vulnerability to measure the risks over time and show improvements. Or you show what percentage of computers are compliant for a specific vulnerability.
There are two policy types:
- Built-in policies are installed with the application (Policy Manager configuration policies based on USGCB, FDCC, or CIS). These policies are not editable. Policy Manager is a license-enabled scanning feature that performs checks for compliance with United States Government Configuration Baseline (USGCB) policies, Center for Internet Security (CIS) benchmarks, and Federal Desktop Core Configuration (FDCC) policies.
- Custom policies are editable copies of built-in policies. You can make copies of a custom policy if you need custom policies with similar changes, such as policies for different locations.
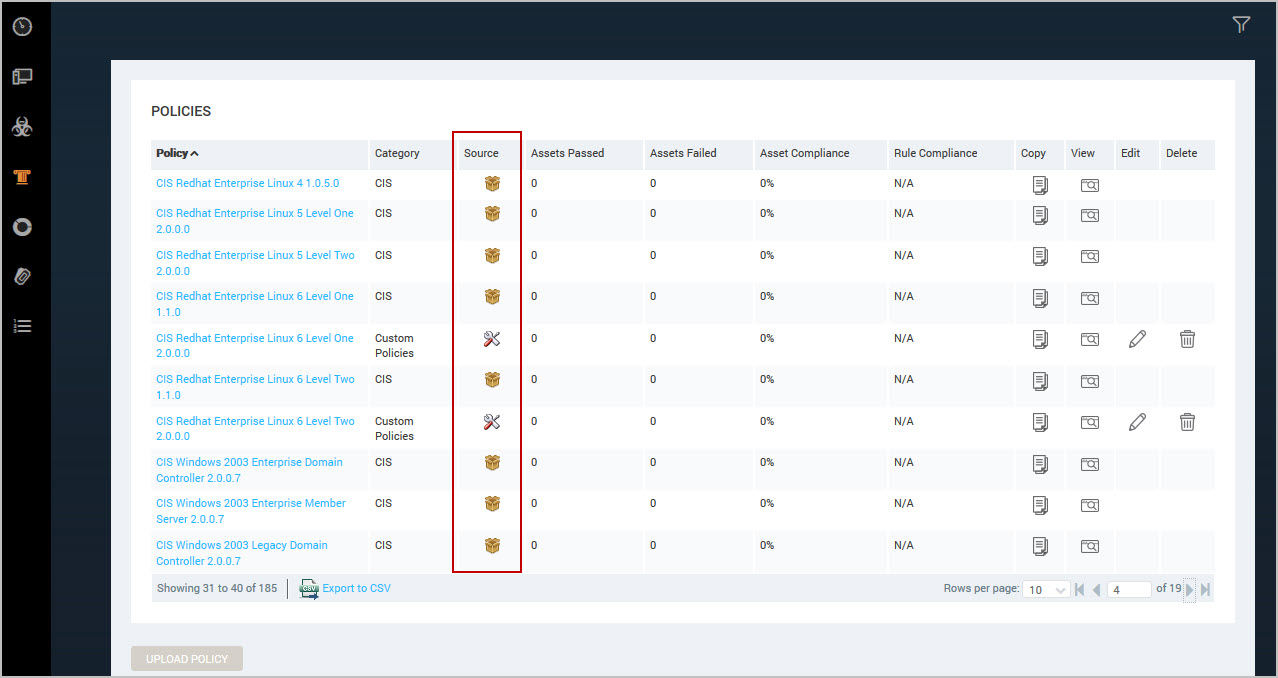
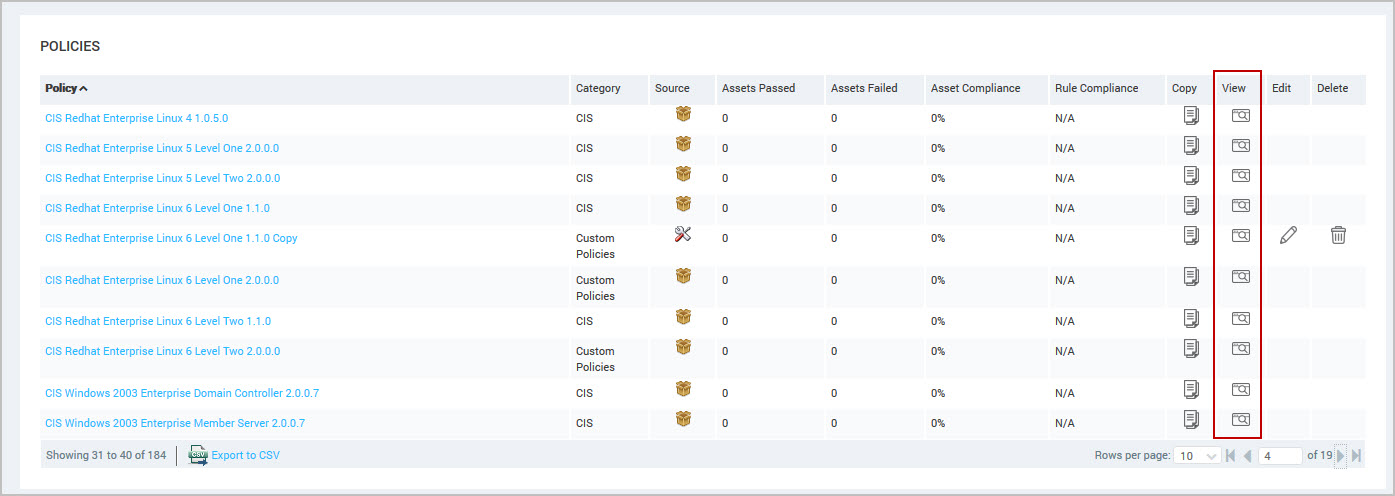
You can determine which policies are editable (custom) on the Policy Listing table on the Policies page. The Source column displays which policies are built-in and custom. The Copy, Edit and Delete buttons display for only custom policies for users with Manage Policies permission.
Editing policies during a scan
You can edit policies during a scan without affecting your results. While you modify policies, manual or scheduled scans that are in process or paused scans that are resumed use the policy configuration settings in effect when the scan initially launched. Changes saved to a custom policy are applied during the next scheduled scan or a subsequent manual scan.
If your session times out when you try to save a policy, reestablish a session and then save your changes to the policy.
Editing a policy
To edit policies, you need Manage Policies permissions. Contact your administrator about your user permissions.
The following section demonstrates how to edit the different items in a custom policy. You can edit the following items:
- custom policy—customize name and description
- groups—customize name and description
- rules—customize name and description and modify the values for checks
To create an editable policy, complete these steps:
- Click Copy next to a built-in or custom policy.
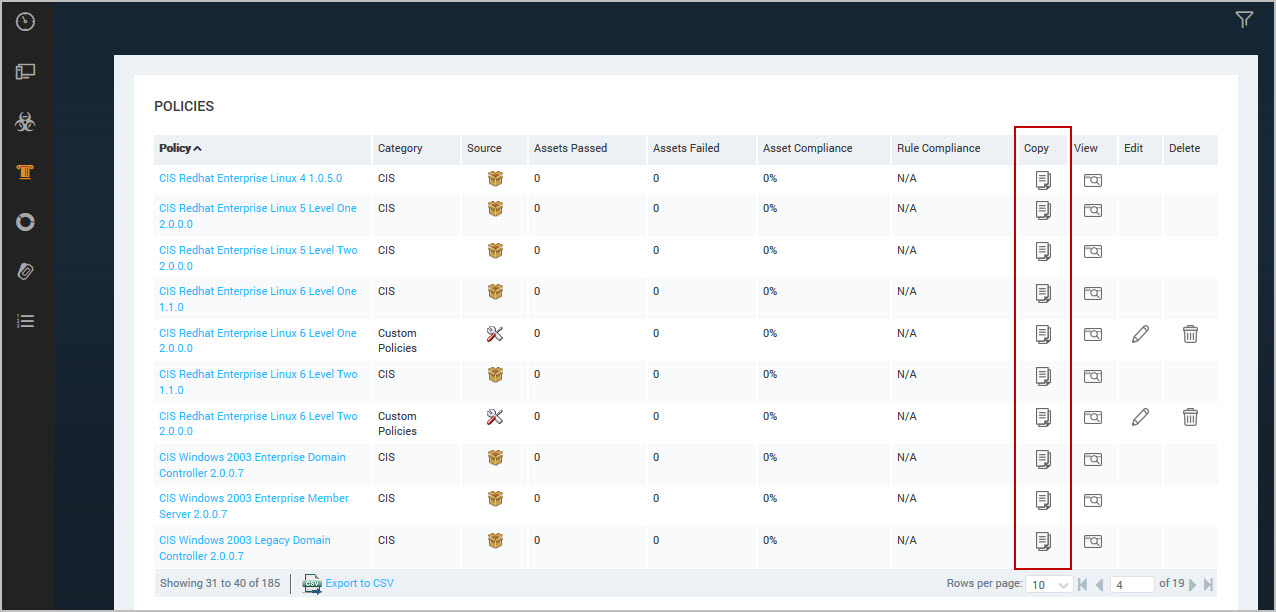
The application creates a copy of the policy.
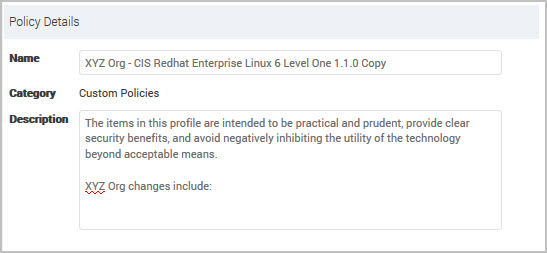
- You can modify the Name to identify which policies are customized for your organization. For example, add your organization name or abbreviation, such as
XYZ Org -USGCB 1.2.1.0 - Windows 7 Firewall.
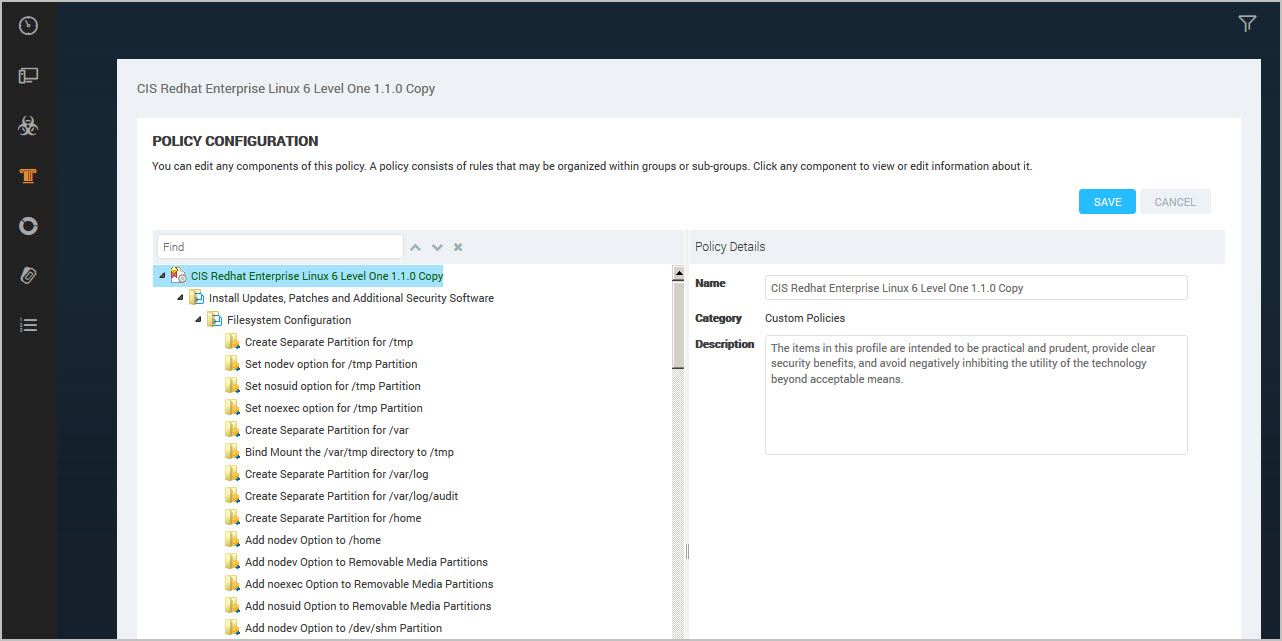
- (Optional) You can modify the Description to explain what settings are applied in the custom policy using this policy.
- Click Save.
Viewing policy hierarchy
The Policy Configuration panel displays the groups and rules in item order for the selected policy. By opening the groups, you drill down to an individual group or rule in a policy.

To view policy hierarchy for password rules, complete these steps:
- Click View on the Policy Listing table to display the policy configuration.
- Click the icon to expand groups or rules to display details on the Policy Configuration panel. Use the policy Find box to locate a specific rule. See Using policy find.
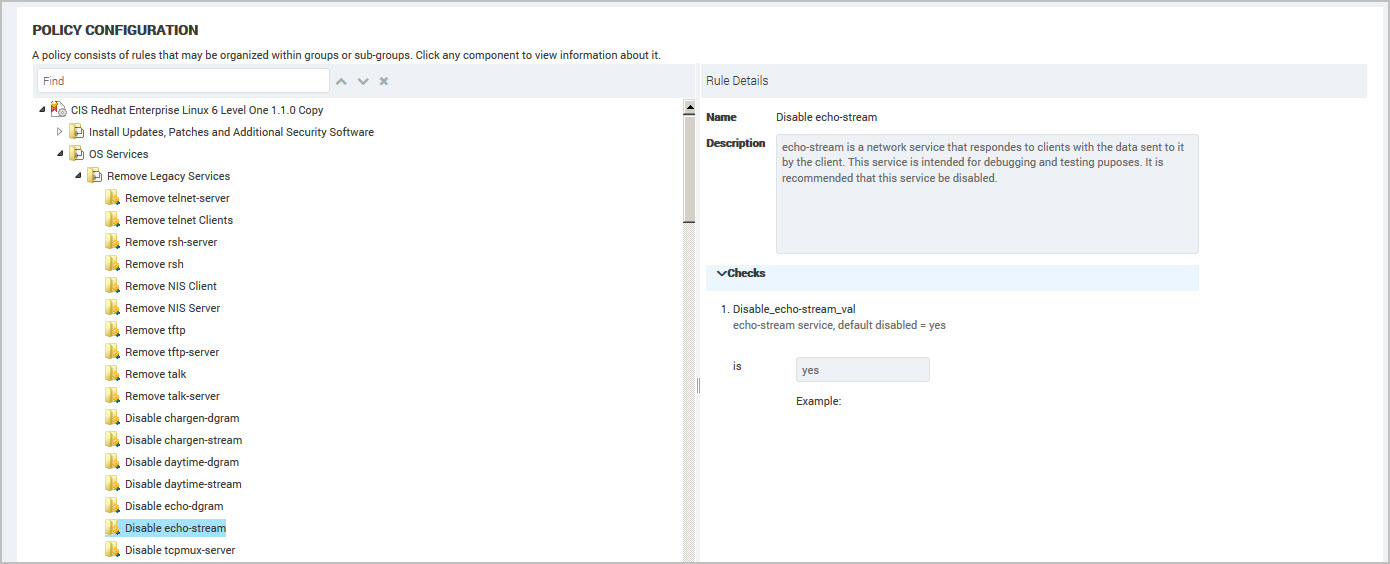
- Select an item (rule or group) in the policy tree (hierarchy) to display the detail in the right panel. For example, your organization has specific requirements for password compliance. Select the Password Complexity rule to view the checks used during a scan to verify password compliance. If your organization policy does not enforce strong passwords then you can change the value to Disabled.
Using policy find
Use the policy find to quickly locate the policy item that you want to modify.
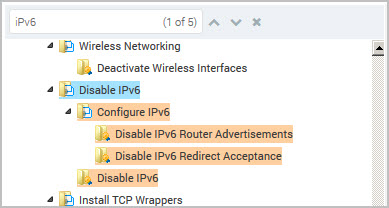
For example, type IPv6 to locate all policy items with that criteria. Click the Up  and Down
  arrows to display the next or previous instance of IPv6 found by the policy find.
To find an item in a policy, complete these steps:
- Type a word or phrase in the policy Find box. For example, type password. As you type, the application searches then highlights all matches in the policy hierarchy.
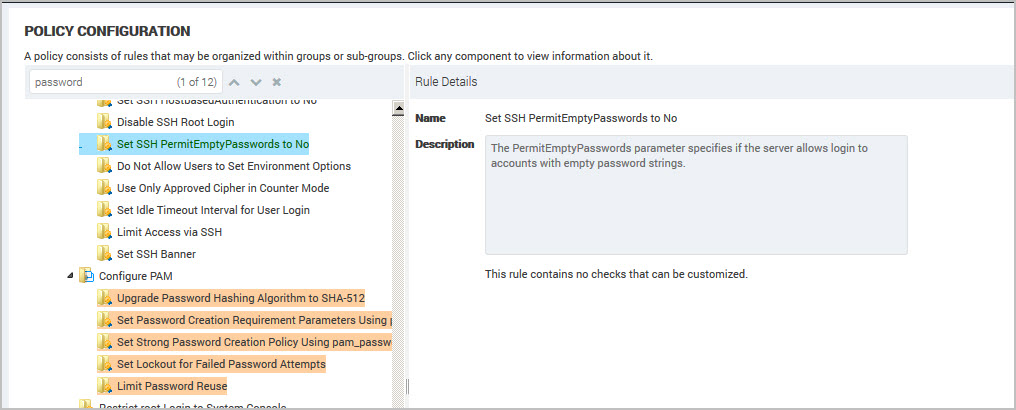
- Click the Up and Down arrows to move to the next or previous items that match the find criteria.
- (Optional) Refine your criteria if you receive too many results. For example, replace password with password age.
- To clear the find results, click Clear
 .
.
Editing policy groups
You modify the group Name and Description to change the description of items that you customized. The policy find uses this text to locate items in the policy hierarchy. See Using policy find.
You select a group in the policy hierarchy to display the details. You can modify this text to identify which groups contain modified (custom) rules and add a description of what type of changes.
Editing policy rules
You can modify policy rules to get different scan results. You select a rule in the Policy Configuration hierarchy to see the list of editable checks and values related to that rule.
To edit a rule value, complete these steps:
- Select a rule in the policy hierarchy. The rule details display.
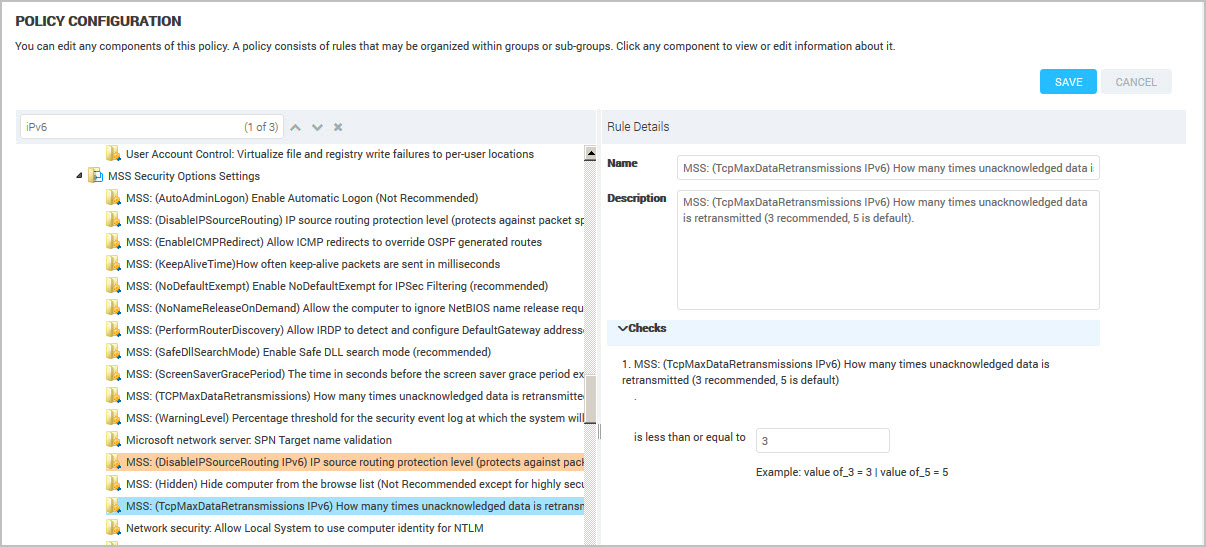
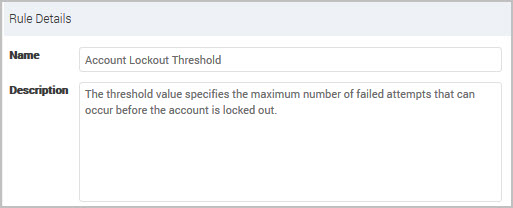
(Optional) Customize the Name and Description for your organization. Text in the Name is used by policy find. See Using policy find.

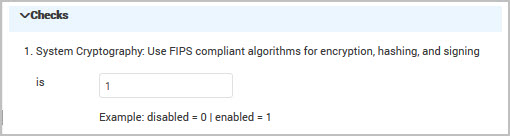
- Modify the checks for the rule using the fields displayed. Refer to the guidelines about what value to apply to get the correct result. For example, disable the Use FIPS compliant algorithms for encryption, hashing and signing rule by typing ‘0’ in the text box.
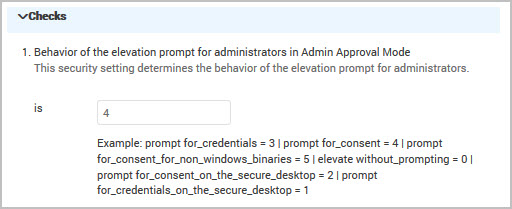
For example, change the Behavior of the elevation prompt for administrators in Admin Approval Mode check by typing a value for the total seconds. The guidelines list the options for each value.
- Repeat these steps to edit other rules in the policy.
- Click Save.
Enabling or disabling policy rules
To enable or disable policy rules, you need Manage Policies permissions. Contact your administrator about your user permissions.
You can enable or disable a group of rules or specific rules within a custom policy.
To enable or disable policy rules, complete these steps:
- Select a policy in the hierarchy.
- Click the Edit icon. The Policy Configuration page displays. Green toggles indicate enabled rules and gray toggles indicate disabled rules.

- To disable rules, click on the associated green toggle; to enable rules, click on the associated gray toggle.
- Click Save. Changes become effective in the next scan.
At least one rule must be enabled to save a policy.
Notes about enabling or disabling rules
- Enabling or disabling rules will trigger compliance score recalculations.
- Disabled rules are not run as part of the policy scan and may result in a deletion of scan results.
- Overrides on disabled rules are inactive until the rule is enabled again. See Working with Policy Manager results for information about overrides.
- Disabled rules are only visible on the Policy Configuration page.
Deleting a policy
To delete policies, you need Manage Policies permissions. Contact your administrator about your user permissions.
You can remove custom policies that you no longer use. When you delete a policy, all scan data related to the policy is removed. The policy must be removed from scan templates and report configurations before deleting.
Click Delete for the custom policy that you want to remove.
If you try to delete a policy while running a scan, then a warning message displays indicating that the policy can not be deleted.
Adding Custom Policies in Scan Templates
To perform policy checks in scans, make sure that your Scan Engines are updated to the August 8, 2012 release.
You add custom policies to the scan templates to apply your modifications across your sites. The Policy Manager list contains the custom policies.
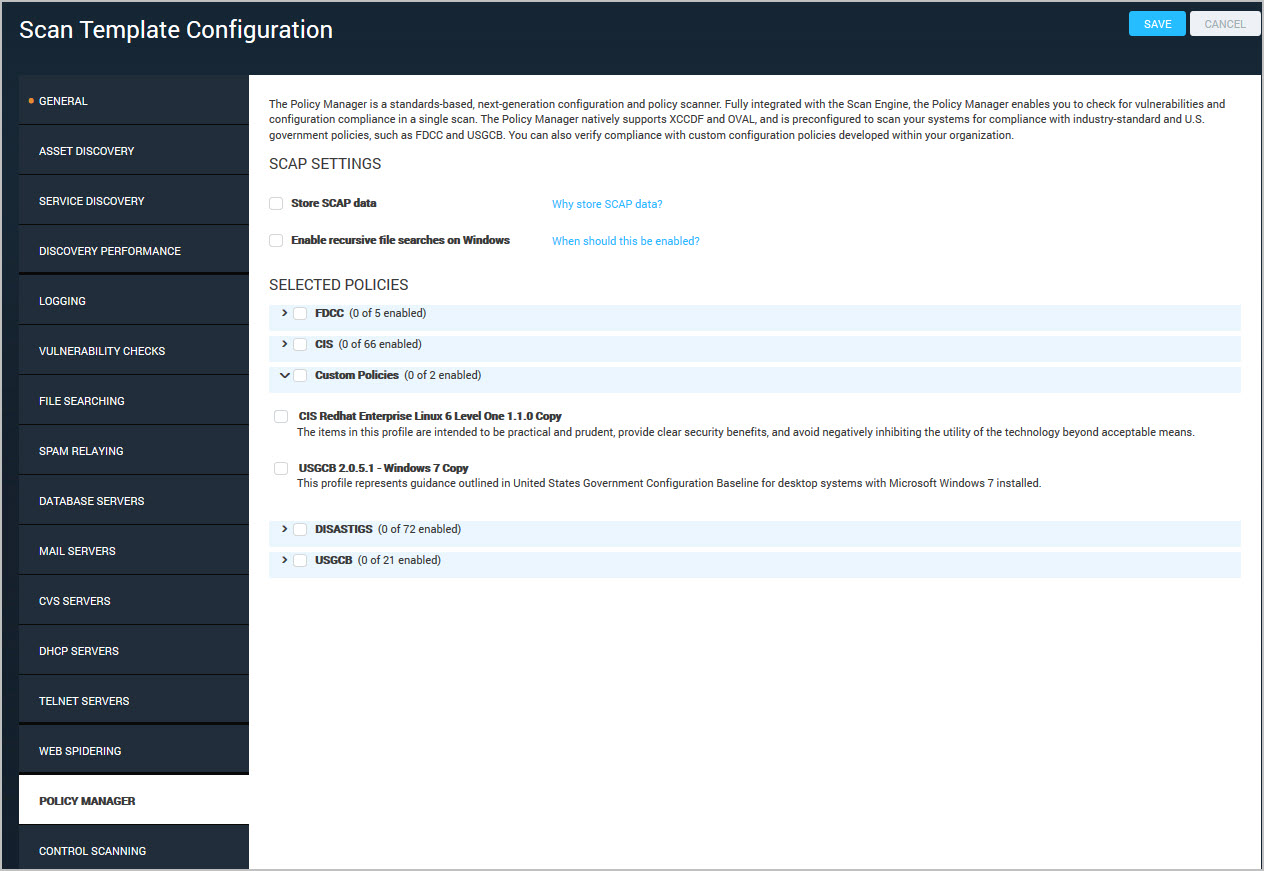
Click Custom Policies to display the custom policies. Select the custom policies to add.
Import and Export Custom Policies
- Copy the custom policy from the directory and move it to the other security console’s machine’s corresponding directory. The directory is located here:
/opt/rapid7/nexpose/shared/policy/custom/silo/default/custom-policy - On the other security console, navigate to Policies > Upload a Policy.
- Add the appropriate information into the “Name” and “Description” fields.
- Click the Select file box and select the migrated custom policy.
- Click the Open button, and then select the Upload button.