Collector Proxy Configuration
Collectors have the ability to send all received traffic to a configured proxy address if necessary. Proxy configurations are common in situations where your organization’s security policy prohibits the collector from communicating directly with the Command Platform (Insight Platform). You can specify your proxy address by modifying the config.properties file in your collector installation directory.
This procedure is the same for both new and existing collector installations, but verify that your intended host meets the system requirements if you’re installing a collector for the first time.
Configure a proxy address
Follow these steps to configure a proxy address for your collector:
- If you’re installing a new collector, proceed with the installation as you normally would, but do not activate the new collector yet.
- Your collector will generate a new activation key after you save your proxy configuration. You’ll need to activate your collector with this new key in the final step of this procedure.
- Navigate to the
confdirectory in your collector installation. Default installation paths for this directory are as follows:- Linux -
/opt/rapid7/collector/conf - Windows -
C:\Program Files\rapid7\Collector\conf
- Linux -
- In the
confdirectory, locate and open theconfig.propertiesfile with a text editor. This config file contains a series of proxy-related properties that you can modify to specify your proxy destination.
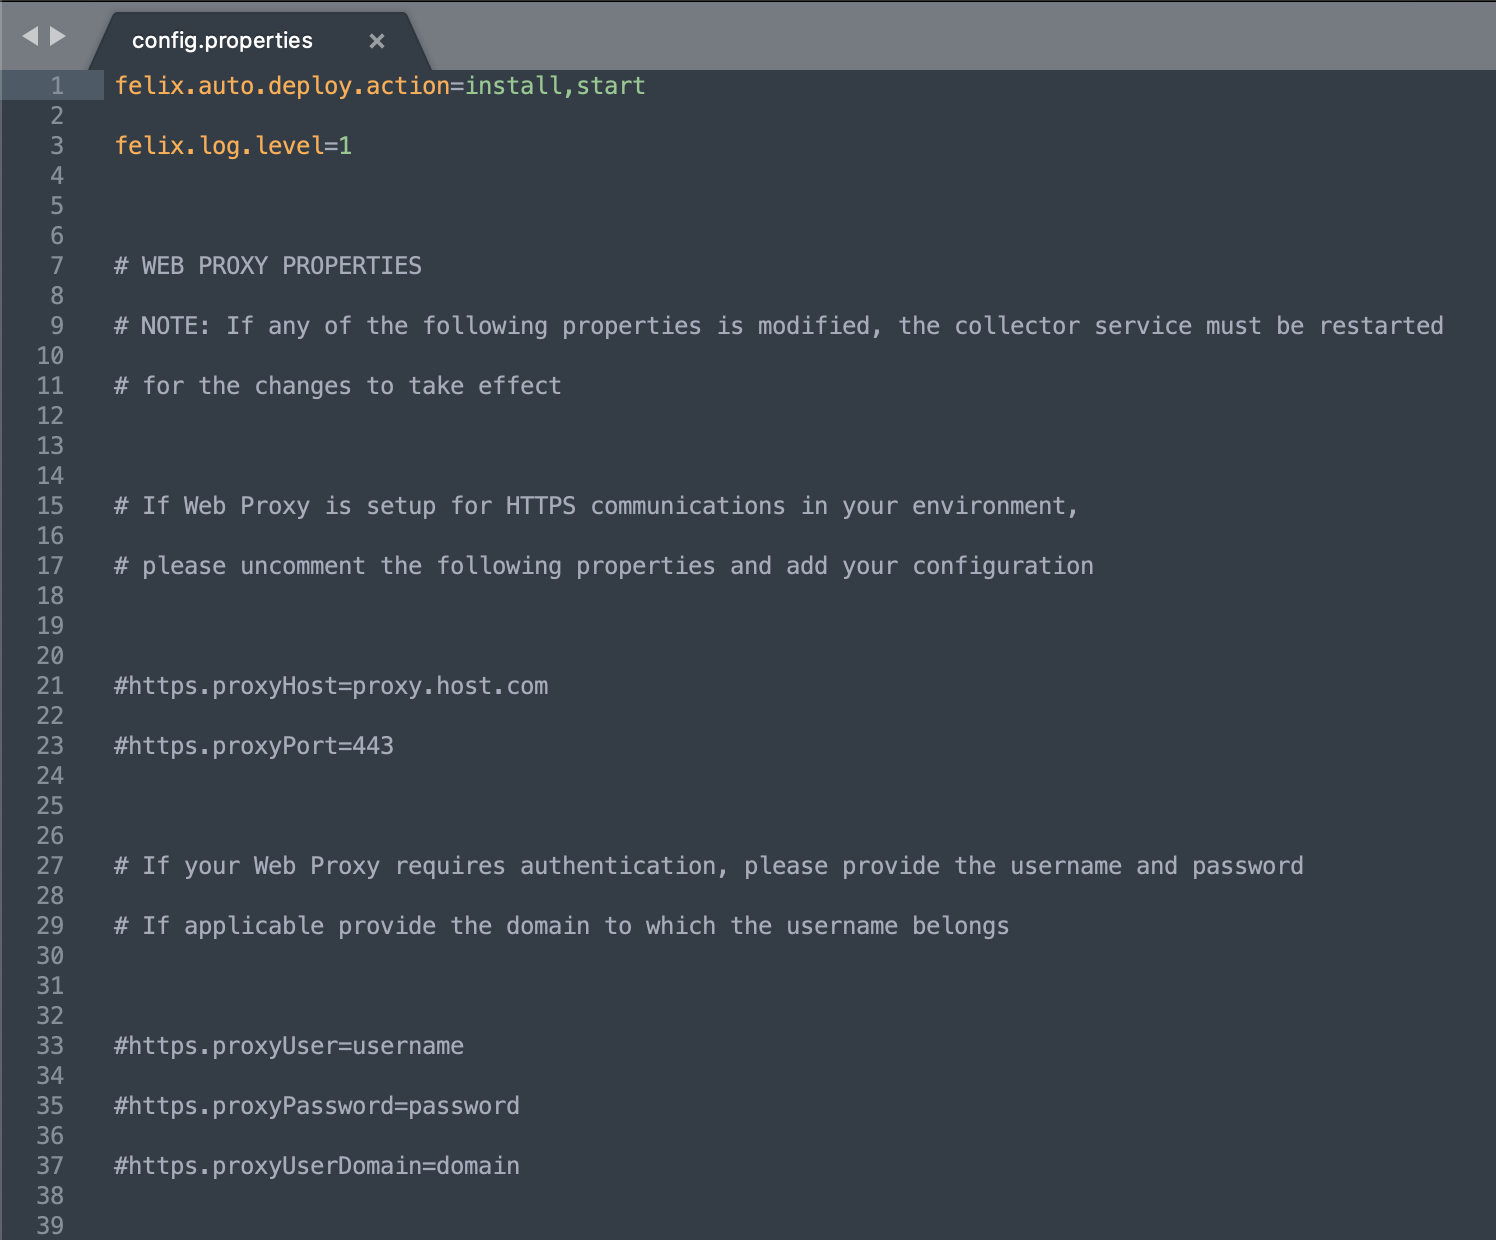
- Browse to the lines that contain the
https.proxyHostandhttps.proxyPortproperties. Replace theproxy.host.comand443portions in each line with the necessary values.- The value you assign to
https.proxyHostcan be a hostname or an IP address.
- The value you assign to
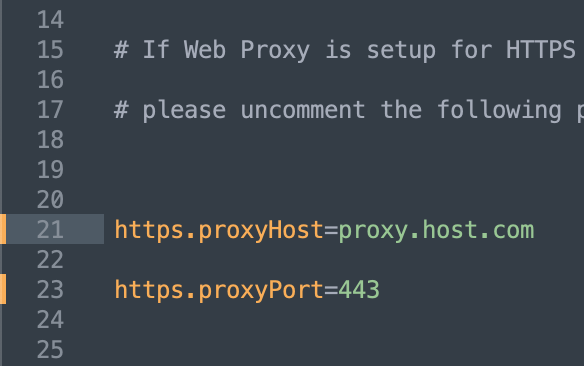
- After specifying these values, delete the preceding
#from both lines to activate them.- The
#character instructs the collector to ignore anything written to that line. Deleting them ensures that the collector can read and understand your proxy properties.
- The
- If your proxy requires basic authentication, repeat the same process with the following properties (skip this step if authentication is not necessary):
https.proxyUserhttps.proxyPasswordhttps.proxyUserDomain
- After making all necessary changes, save and close the file.
- Restart the collector service.
- For collectors on Linux hosts, run the
service collector restartcommand in a terminal. - For collectors on Windows hosts, open the service manager and navigate to the Rapid7 Command Platform (Insight Platform) Collector service. Right-click the service name and click Restart.
- For collectors on Linux hosts, run the
- After the collector service restarts and sees your proxy configuration, it will generate a new activation key in a file called
Agent_Key.html. You can find this file in theagent-keydirectory. Default installation paths for this directory are as follows:- Linux -
/opt/rapid7/collector/agent-key - Windows -
C:\Program Files\rapid7\Collector\agent-key
- Linux -
- Copy your new activation key and open InsightVM.
- In Vulnerability Management (InsightVM), click the Management tab in your left menu.
- Click the Collectors tab. The page will display your existing collectors if you have them.
- Click Activate Collector in the upper right corner of the screen.
- Give your collector a name, paste the activation key in the provided field, and click Activate.
Proxy configuration complete!
Your collector will now send all data it receives to your proxy address before it reaches the Command Platform (Insight Platform).