ServiceNow ITSM Configuration
Permission and Roles
These are the ServiceNow roles and the permissions that are needed to install the application.
Create Users
This step is optional. If you do not want to create a user, then System Admin can access the Rapid7 Digital Risk Protection (Threat Command) for ITSM Application.
ServiceNow platform admin creates the various users for the application.
| Username (for example) | Description | Role to be assigned |
|---|---|---|
| App Admin | This user will be accessing the “Rapid7 Digital Risk Protection (Threat Command) for ITSM” application for Fetching the Data, and accessing various modules of the application. | - X_r7_rapid7_intsig.app_admin- Personalize_dictionary- Itil_admin |
| App User | This user will be accessing the “Rapid7 Digital Risk Protection (Threat Command) for ITSM” application for fetching data and viewing various modules of the application. | - X_r7_rapid7_intsig.app_user- Personalize_dictionary- itil |
Below is the example showing how to create an App Admin user and assign the different roles to it. Other users can be created similarly by giving them the appropriate roles.
Role Required : System Administrator (admin)
Procedure:
-
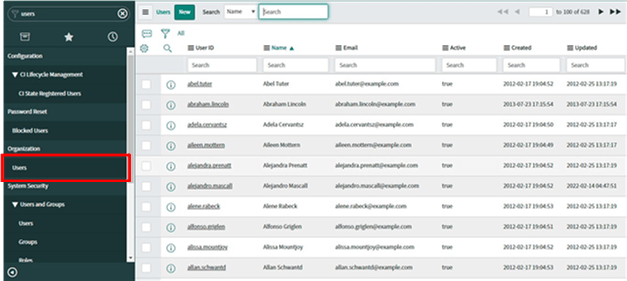
Navigate to Organization Users.
-
Click the Users module.
-
On the Users list that is displayed, click New. A new user form is displayed.
-
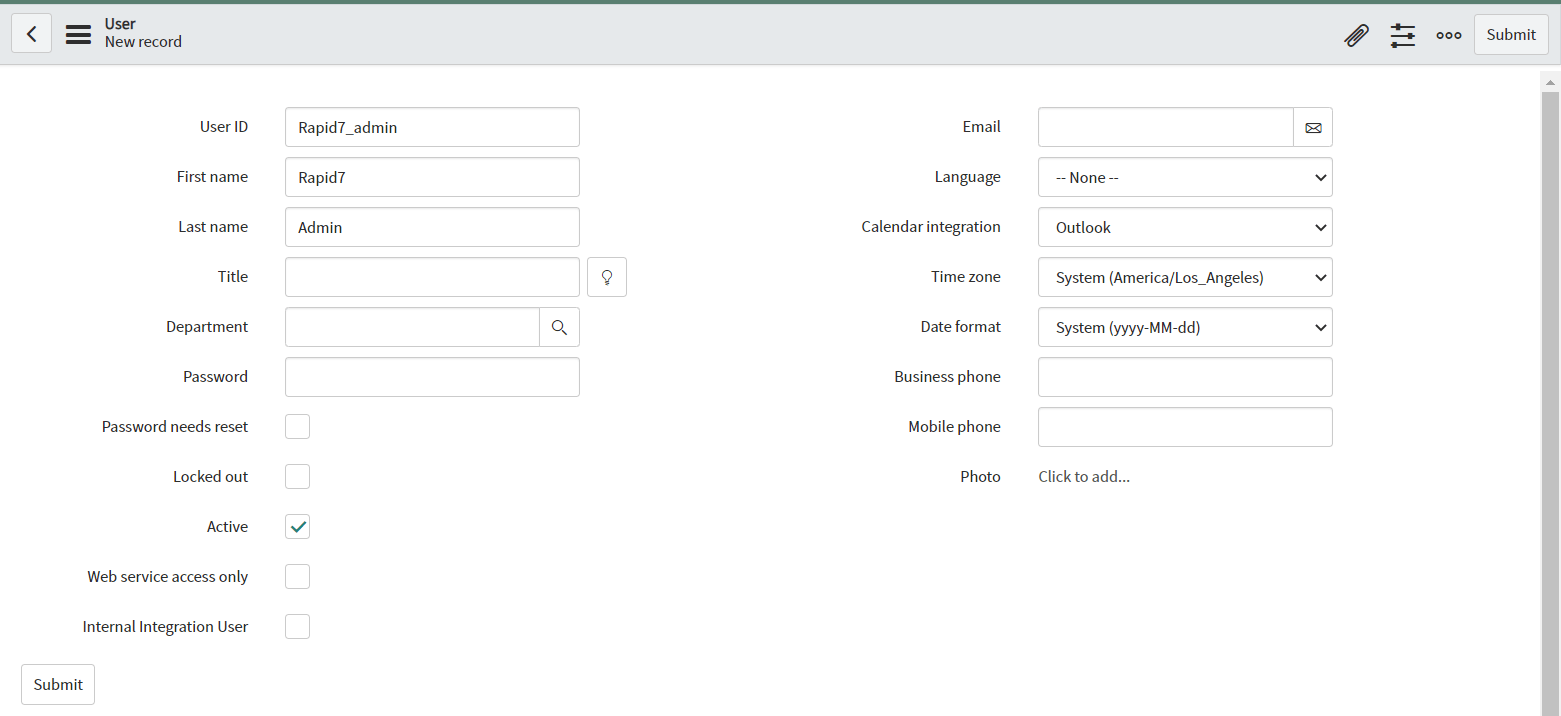
Fill out the required details in the form.
Note: The values shown in the following table and figure are example values.
| Field | Description |
|---|---|
| User ID | Unique User ID for the role in your ServiceNow Platform instance. An example is Rapid7_admin. |
| First Name | The person you are assigning |
| Last Name | The person you are assigning |
| Title | Job Title |
| Password | The unique password created for this user |
| Unique email address |
-
Click Submit. Once submitted, you can assign the role.
-
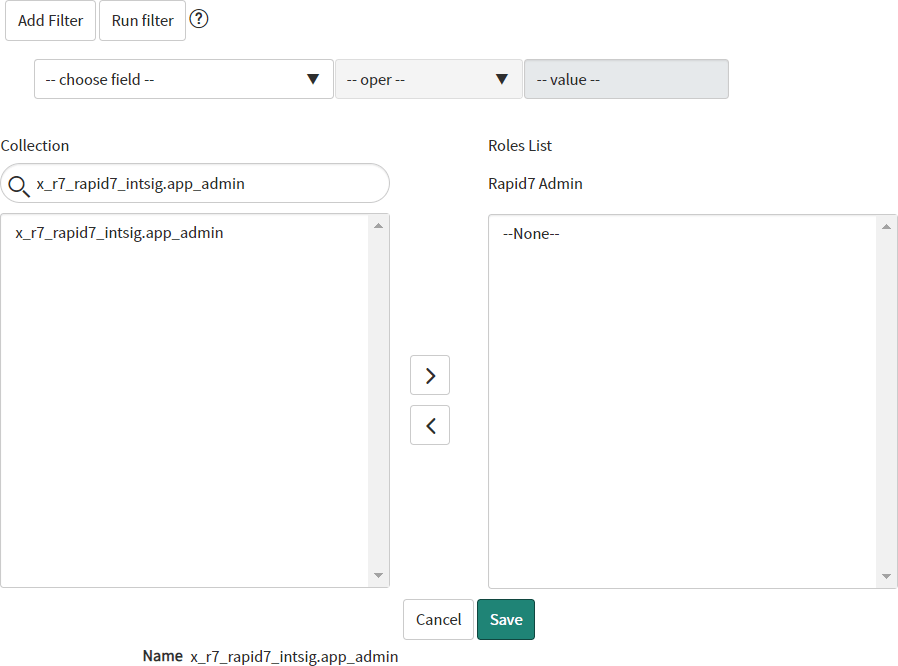
On the Users list click on the name of the new user you have created just now.
-
In user, the record goes to the Roles section, and click Edit.
-
In the Collection column, select “x_r7_rapid7_intsig.app_admin” and move it to the Roles list.
-
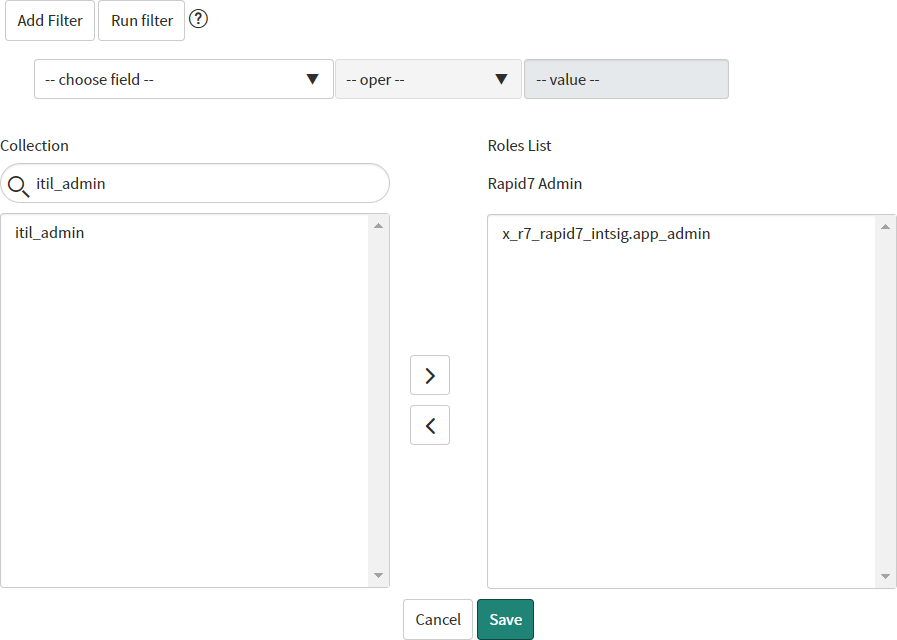
In the Collection column select “itil_admin” and move it to the Role list.
-
In the Collection column, select “personalize_dictionary” and move it to the Role list.
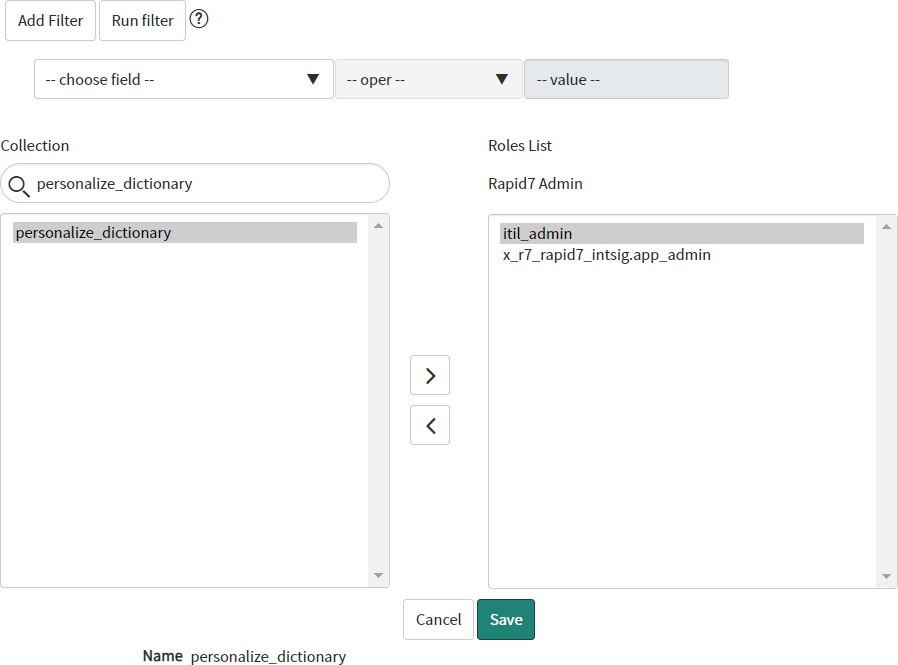
-
In the Collection column, select “itil” and move it to the Role list.
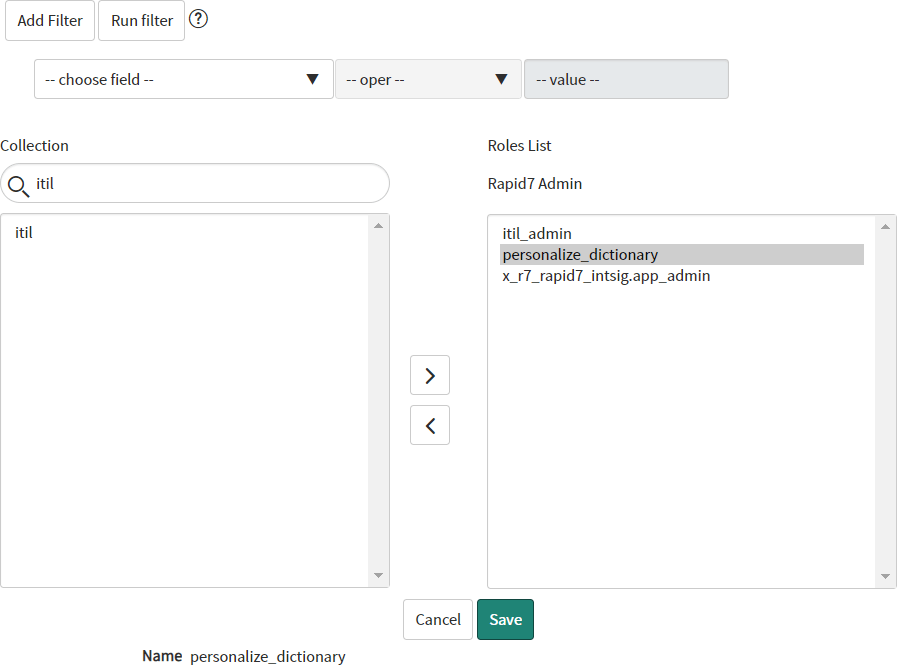
-
Click Save.