Microsoft IAS (RADIUS)
Microsoft Network Policy Server (NPS), previously known as Internet Authentication Service (IAS), is the implementation of the remote-authentication-dial-in-user service (RADIUS). The RADIUS server can perform authentication, authorization, and VPN connections, among other abilities.
You must configure NPS to send its log to a log file, which SIEM (InsightIDR) can then follow and ingest.
To start logging with NPS:
- Run the RADIUS Accounting Wizard
- Configure NPS Log File Properties
- Configure Microsoft IAS in SIEM (InsightIDR)
Microsoft NPS is only available on Windows machines.
Run the RADIUS Accounting Wizard
The Network Policy Server can log its data in several ways, so you must indicate in the logging “Accounting” wizard that NPS should send logs to a log file.
To do so:
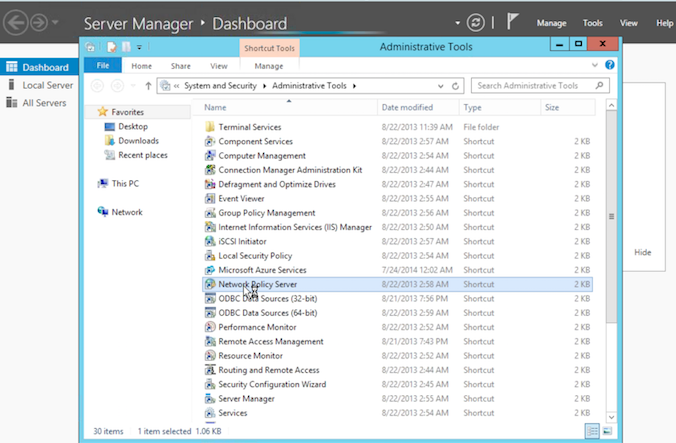
- On your Windows machine, navigate to Start > System and Security > Administrative Tools > Network Policy Server.
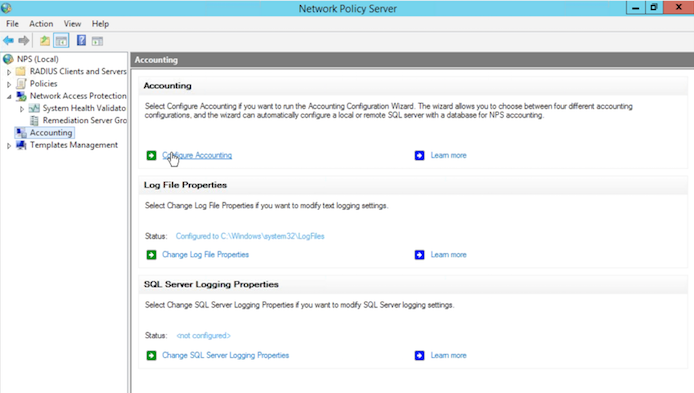
- Click the Configure Accounting link.
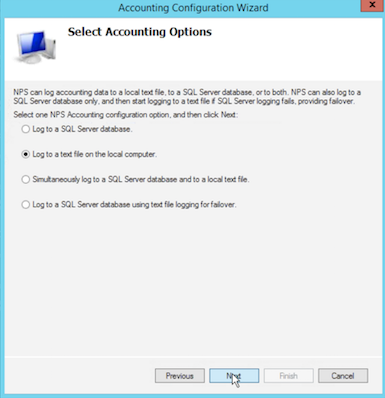
- Select the second option, “Log to a text file on the local computer.”
- Click the Next button.
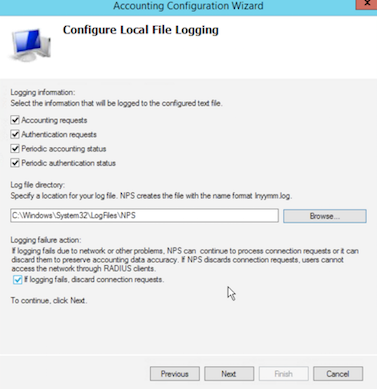
- Under “Logging Information,” check on all four of the information types that will be logged to the text file.
- Optionally check on the box for “Logging Failure” for the log to disregard connection requests during logging failure.
- In the “Log File Directory” field, click the Browse button to open the “LogFiles” default path.
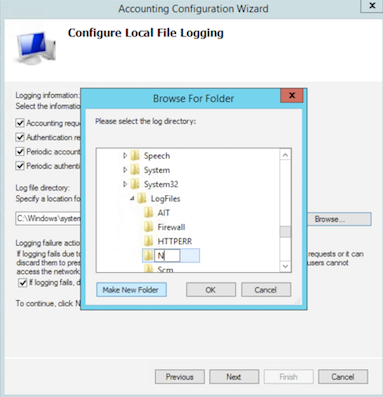
- Click the Make a New Folder button and name your folder, such as “NPS Logs.” Click the OK button.
- Click the Next button.
- Review the “Summary” section of the NPS Accounting Wizard. Click the Next button.
- Click the Finish button.
Configure NPS Log File Properties
After you successfully finish the Accounting Wizard, you must configure the log properties of the NPS log file.
To do so:
- On your Windows machine, navigate to Start > System and Security > Administrative Tools > Network Policy Server.
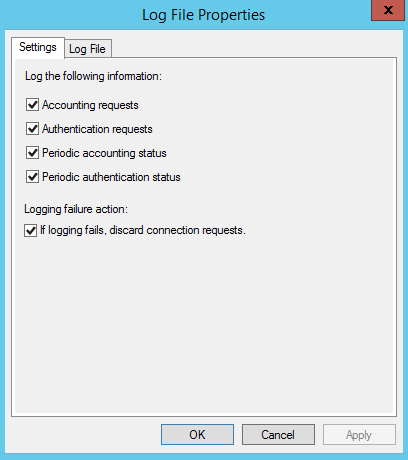
- Click the Change Log File Properties link.
- On the “Settings” tab, you will see the same information you configured in the Accounting Wizard. Select the Log File tab.
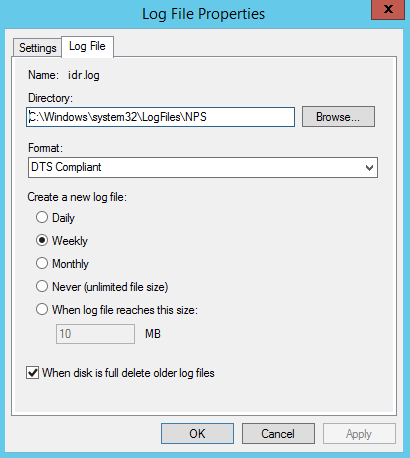
- Under “Format,” select the log format you want to use. SIEM (InsightIDR) accepts the DTS Compliant format.
- Under “Create a new log file,” select the frequency of how often you want your Windows machine to create a new log file, or how large the file must become.
- Optionally choose to delete older log files when your Disk is full.
- Click the Apply button and click the OK button.
For more information, you can read Microsoft’s documentation on NPS log configuration here: https://docs.microsoft.com/en-us/windows-server/networking/technologies/nps/nps-accounting-configure#configure-nps-log-file-properties
Configure SIEM (InsightIDR) to collect data from the event source
After you complete the prerequisite steps and configure the event source to send data, you must add the event source in SIEM (InsightIDR).
To configure the new event source in SIEM (InsightIDR):
- From the left menu, go to Data Collection and click Setup Event Source > Add Event Source.
- Do one of the following:
- Search for Microsoft IAS in the event sources search bar.
- In the Product Type filter, select VPN.
- Select the Microsoft IAS event source tile.
- Choose your collector and select Microsoft IAS (RADIUS) as your event source. You can also name your event source if you want.
- Choose the timezone that matches the location of your event source logs.
- Optionally choose to send unparsed logs.
- Configure your default domain and any advanced settings.
- Select Watch Directory as your data collection method and then check the box to Watch shared remote directory.
- Select an existing credential for your Windows machine or optionally create a new credential.
- Enter the folder path you configure during the RADIUS Accounting Wizard.
- Enter the scan interval for how often SIEM (InsightIDR) should check the file path.
- Optionally choose to include the file pattern of your log file.
- Click the Save button.