Firewall Rules
There are a number of event sources that require the Windows firewall to be modified on the Collector. One example is Cisco ASA.
The Windows Firewall with Advanced Security is a host-based firewall that runs on Windows Server 2012 and is turned on by default. Firewall settings within Windows Server 2012 are managed from within the Windows Firewall Microsoft Management Console (MMC).
The following instructions are for Windows 2012 Server; however, the instructions are similar for most Windows servers.
Review Firewall Settings
To review and set the firewall settings:
- Open the Server Manager from the Task bar.
- Click the Tools menu and select Windows Firewall with Advanced Security.

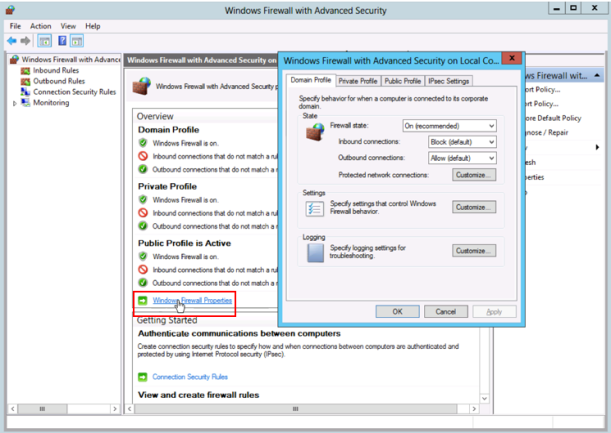
- Review the current configuration settings by selecting Windows Firewall Properties from the MMC landing page. This allows you to modify the settings for each of the three firewall profiles: Domain, Private, and Public as well as IPSec settings.
Modify Rules
Custom rules allow the finest level of control over inbound and outbound traffic to your Windows Server 2012.
To modify firewall rules:
- If you have not done so already, load the Windows Firewall MMC by opening the Server Manager from the Task bar, clicking the Tools menu, and selecting Windows Firewall with Advanced Security.
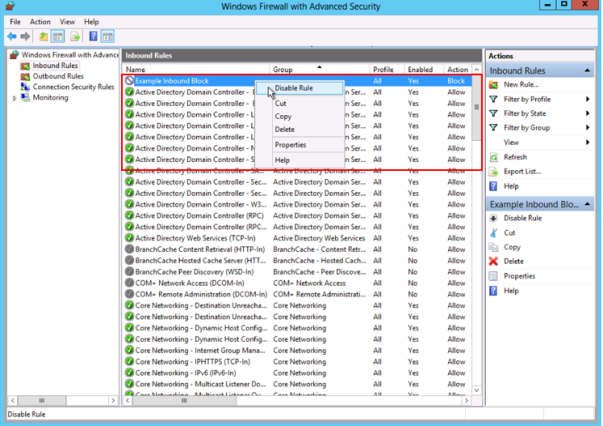
- From the left side of the management console, select either Inbound Rules or Outbound Rules under Windows Firewall with Advanced Security.
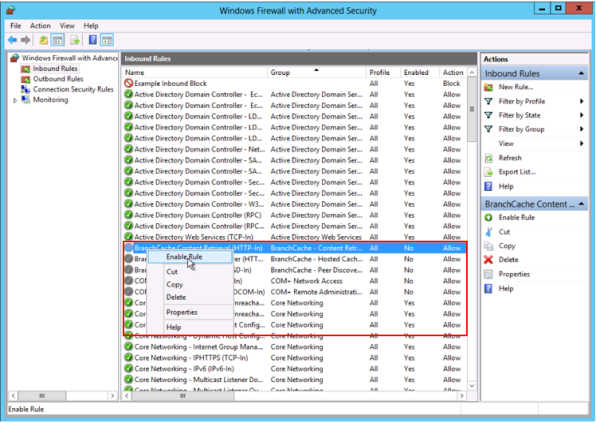
- Note: This will provide you a listing for each of the currently configured firewall rules. Rules that are currently enabled are denoted by a green check mark, while disabled rules are denoted by a grey check mark. Right-click on a rule to enable or disable it.
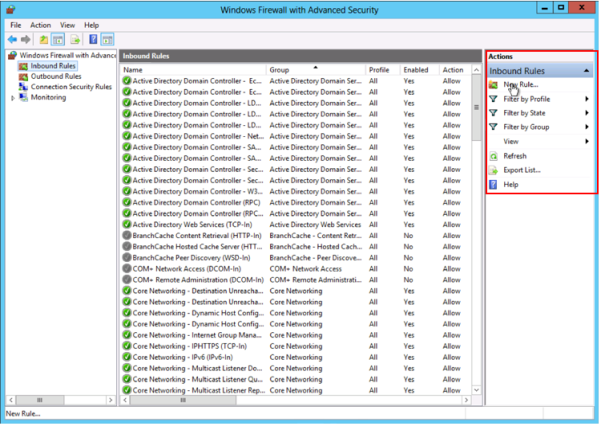
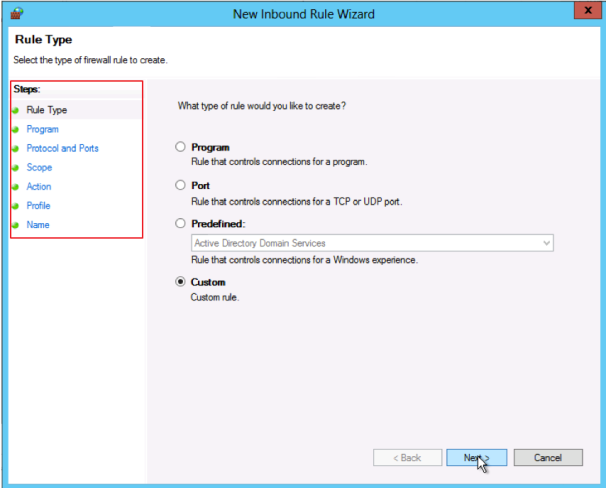
- Click New Rule from the right side of either the “Inbound Rules” or “Outbound Rules” tab.
- Select Custom from the Rule Type radial button.
- Click the Next button.
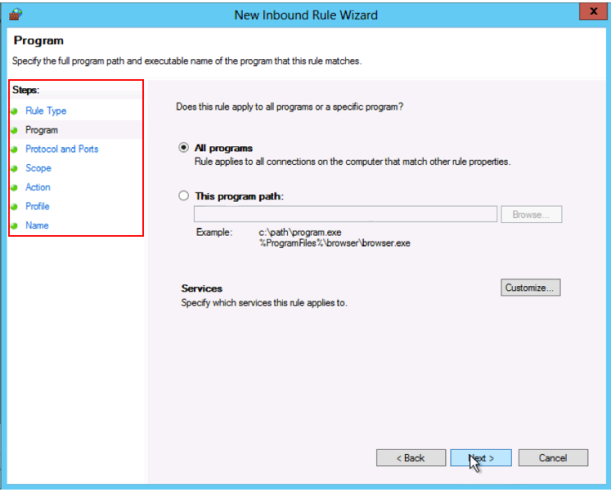
- Select the Program association for the Custom Firewall Rule for either “All programs” or “This program path” for a specific program.
- Click the Next button.
- Select the protocol type from the “Protocol type” dropdown list.
- Click the Next button.

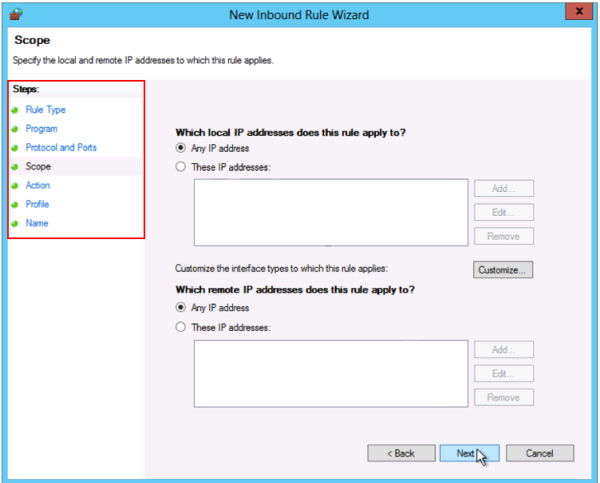
- Select an IP address association for both local and remote addresses.
- Click the Next button.
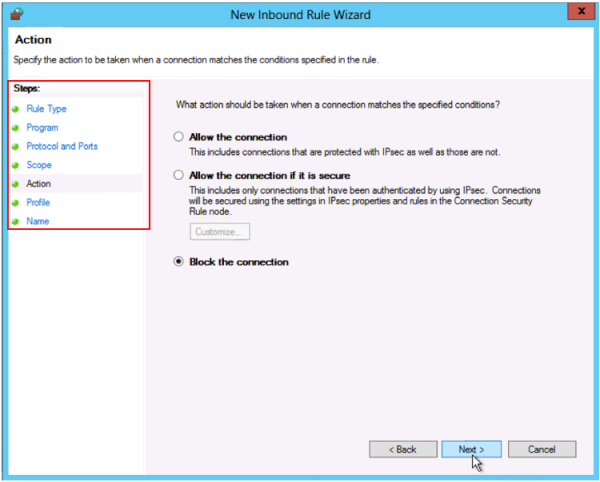
- Select an action to take on matching traffic.
- Click the Next button.
- Select the profiles associated with the custom rule.
- Click the Next button.

- Enter a name for the firewall rule in the “Name” field.
- Optionally, enter a description in the “Description” field.
- Click the Finish button.

- Once the rule is created, it will be enabled. The firewall rule can be found on the corresponding “Rule” tab, either inbound or outbound depending on the type created.
- To disable or delete the rule, find the rule in the MMC, right-click it, and select either Disable Rule or Delete.