Configure Connections For Automation
After you install and activate the Rapid7 Orchestrator (Insight Orchestrator), you can configure connections to third party plugins in order to execute automatic actions.
You can configure connections for the following plugins:
After you configure these connections, you must activate workflow templates before you can start using automated workflows.
Active Directory
In order to configure this connection, ensure the account you use to set up the connection has permissions to disable users in Active Directory.
You also need the following information to configure Active Directory with the Rapid7 Orchestrator (Insight Orchestrator):
| Requirement | Parameters |
|---|---|
| Server host | * IP address with a URI prefix of ldap:// (unencrypted connection) or ldaps:// (encrypted connection) if using SSL.* For example, ldap://192.5.5.5. |
| SSL | True |
| Port | Port of server. By default, the port is 389. |
| Username and password | Credentials in a DOMAIN\username format. |
Okta
You need the following information to configure Okta with the Rapid7 Orchestrator (Insight Orchestrator):
| Requirement | Parameters |
|---|---|
| Okta URL | The URL of your Okta Domain. For example, dev-12345-admin.oktapreview.com. |
| Okta API Key | The Okta API key |
Carbon Black Response
In order to access and isolate an asset, the account that has the API Key must be an Administrator.
You need the following information to configure Carbon Black Response with the Rapid7 Orchestrator (Insight Orchestrator):
- Server API URL
- If you need to enable SSL Verify
- Carbon Black Response API Key
| Requirement | Parameters |
|---|---|
| Server API URL | The URL of your Carbon Black Server API. |
| SSL Verify | True. SSL certificate verification. |
| CB Response API Key. | API token in your Carbon Black profile. |
JIRA
In order to configure this connection, the account you use to set up the connection must have permissions to create tickets in JIRA.
You need the following information to configure JIRA with the Rapid7 Orchestrator (Insight Orchestrator):
| Requirement | Parameters |
|---|---|
| JIRA URL | The URL of your JIRA instance. |
| Project | Project ID. |
| JIRA group | The account must be assigned to the following default JIRA group: jira-software-users |
| Username and password | The credentials for JIRA account. |
ServiceNow
To configure this connection, the account you use to set up the connection must have permissions to create tickets in ServiceNow.
Additionally, the connection to a ServiceNow data instance requires an external client registered to use the REST API through an OAUTH endpoint and a user with both itil and itil_admin roles. You can read more about these requirements on the ServiceNow documentation pages: https://docs.servicenow.com/bundle/jakarta-platform-administration/page/administer/roles/concept/c_UserAdministration.html?title=User_Administration
You also need the following information to configure ServiceNow with the Rapid7 Orchestrator (Insight Orchestrator):
| Requirement | Parameters |
|---|---|
| Instance Name | The instance-specific part of the host URL. For example, dev12345. |
| Client ID | The ID of the OAuth API endpoint established for the instance. |
| Client Secret | The secret of the OAuth API endpoint established for the instance. |
| Client Username | The name of the ServiceNow user of the OAuth API endpoint. This user role must have itil and itil_admin` or the equivalent. |
| Client Password | The password of the ServiceNow user of the OAuth API endpoint. |
Now you can configure connections and activate workflow templates to start using automated workflows.
Configure Connections
After you gather information for your connections, you can configure the connections for your workflows.
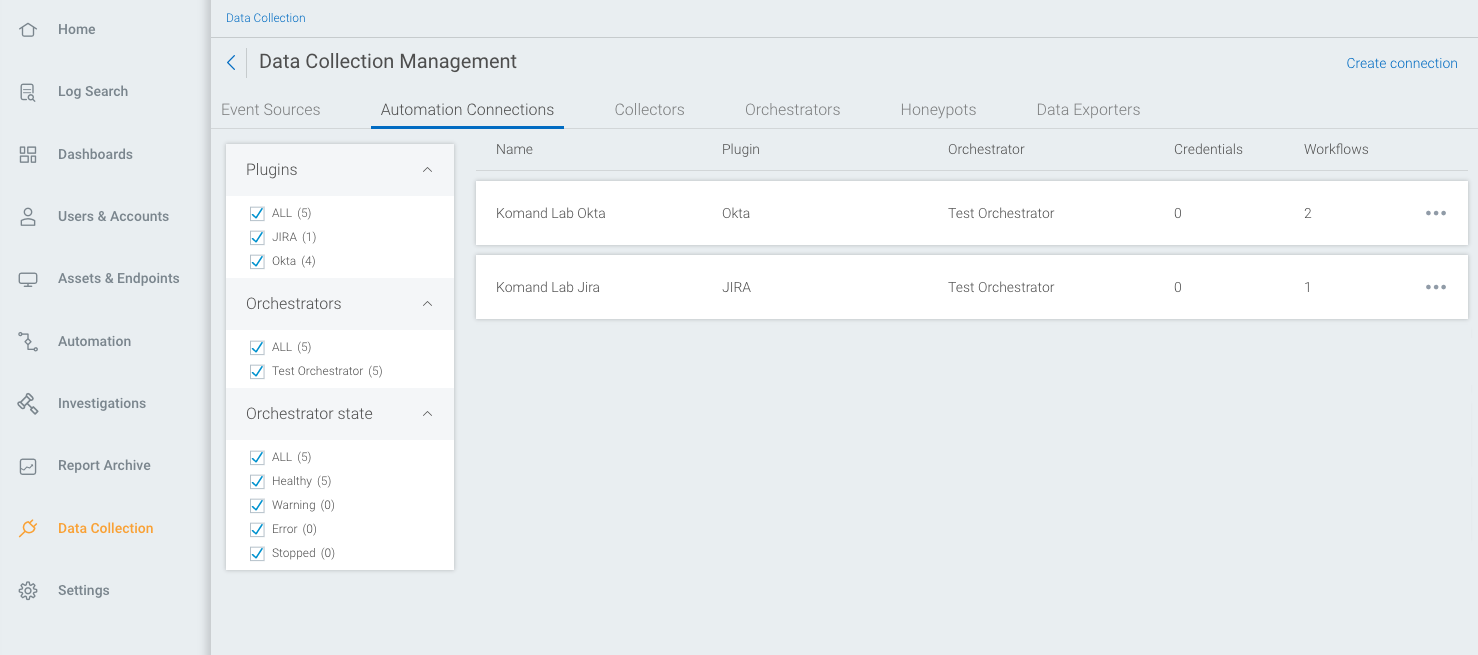
To configure connections in SIEM (InsightIDR):
- From your SIEM (InsightIDR) dashboard, select Data Collection on the left navigation menu.
- Go to the Automation Connections tab and click Create New Connection.
- Name your connection, select the location of the connection, and select the third party application you are connecting to, such as Okta.
- Choose your existing application credentials, or click Create a New Credential from within the dropdown.
- Enter any other required parameters to setup the connection, such as application URLs or keys.
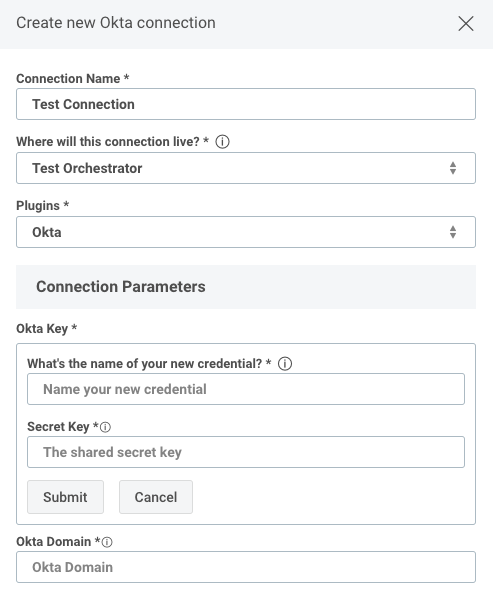
- Click the Save button to add the connection.
The connection appears in the list of available Automation Connections.
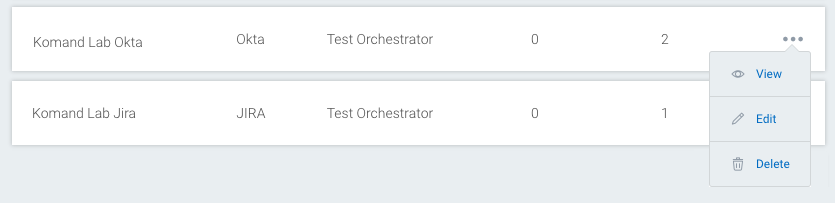
Manage Connections
You can view, edit, or delete a connection by selecting the three dots menu on the right side of the connection.